Viewing Form Entries
To find the form entries waiting to be processed, scroll down to the form you are interested in. If any entries have been received it will have the entries icon beside it.

Click on the Entries icon to access the Form Entries screen for this form.
You will then be able to process and approve any new entries (See Processing Entries)
If you see a red envelope in the forms screen list (as in the screenshot below) then this means that there were errors detected whilst sending the response email to the person who completed the form. Clicking on the envelope will take you to a new screen which will list those errors.

When you click the Entries icon for a form will bring up a list of all the form entries; starting with the most recently submitted entry listed first.
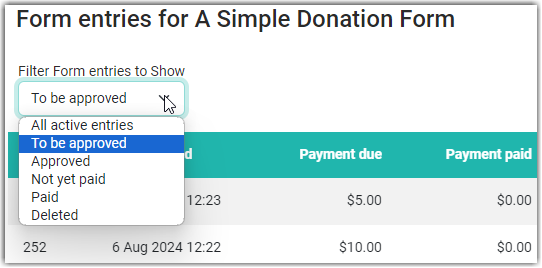
You can filter the Form entries list by using the drop down at the top left of the screen to show:
- All Active Entries
- To be approved
- Approved
- Not yet paid
- Paid
- Deleted
The Not Paid and Paid options will only show if the form includes Financial Fields.
The Deleted option will only show when there are Deleted Entries for that form
Exporting Form Entries
If you want to view or print a list of entries just click the 'Export' button (top right). Choose from Excel or CSV format. You can also choose to include deleted forms in the export.

Recent Entries
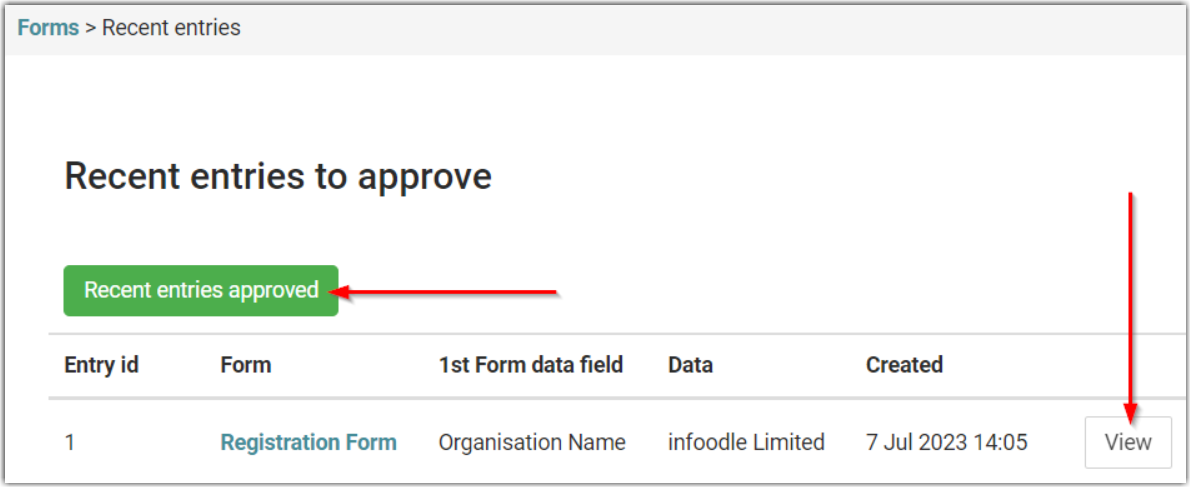
Rather than viewing just the entries for a specific form, you may want to see the recently submitted form entries across all your forms.
On the Forms screen, click on the Recent entries button.

This takes you to a list of the most recent (25) entries that you can see, that are awaiting approval. You can also switch to see recently approved entries using the Recent Entries Approved button. Click View to view and approve the form entry.
Adding Notes to Entries
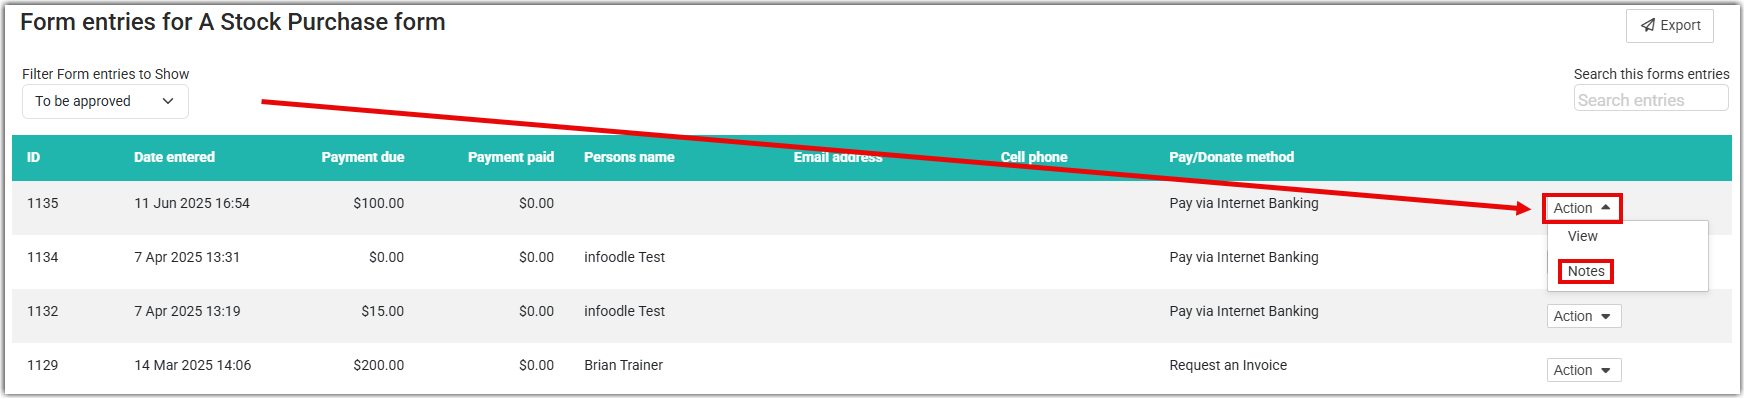
There may be a need to record notes against specific form entries. A note can be added as follows:
Identify the entry you want to add the note to, select Action then Notes
Select the Add New Note button
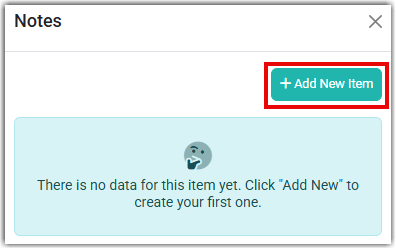
In the Note Text area enter the required note details and format as required with the tools available. If you intend to paste text from outside of infoodle instead of the usual paste function (keyboard shortcut Ctrl-V), paste as plain text instead (Shift -Ctrl-V).
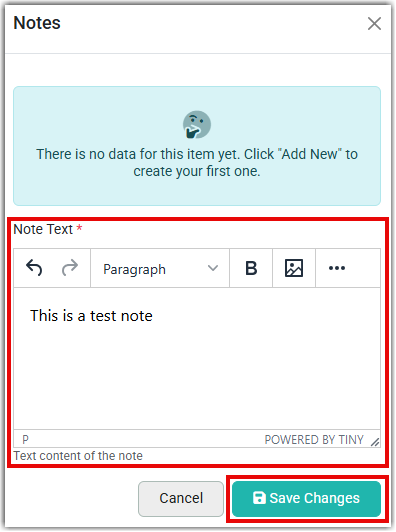
Select the Save Changes button to save the note.
From here you can add another note, edit or delete an existing note, or close the Notes window

The Notes feature displays Notes added to an entry in the date order in which they were added, and you'll be able to see who added any existing note.