Use the Add Bulk Transactions screen when you have multiple donations or payments to enter that share the same date, payment method, account code, and/or campaign - for example, a collection of cash donations received on a Sunday, or a batch of direct credit payments for the same appeal.
Note: In bulk mode, each transaction is created as a single split with the amount you enter per person. If you need per-line control over receipt settings or recipients for a single transaction, use the individual or collective transaction entry instead - those options are found on the Transaction Processing screen. For how to do this, see Adding an Individual Transaction.
Before you start
- You need the Finance Admin role to add transactions. For more information, see Packages and Views.
- You need at least one batch set up. If you haven't created one yet, see Adding a Batch.
Step 1: Open the Add Bulk Transactions screen
- Click Finance in the navigation menu.
- On the Transaction Processing screen, click Transactions.
- Select Add in bulk.
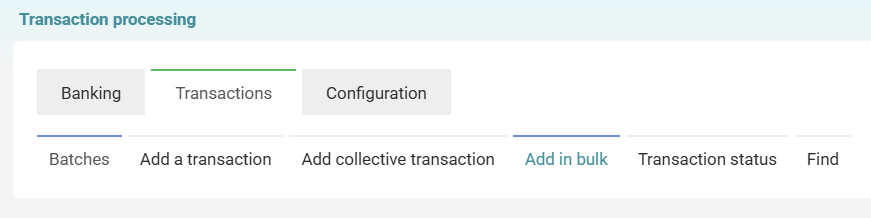
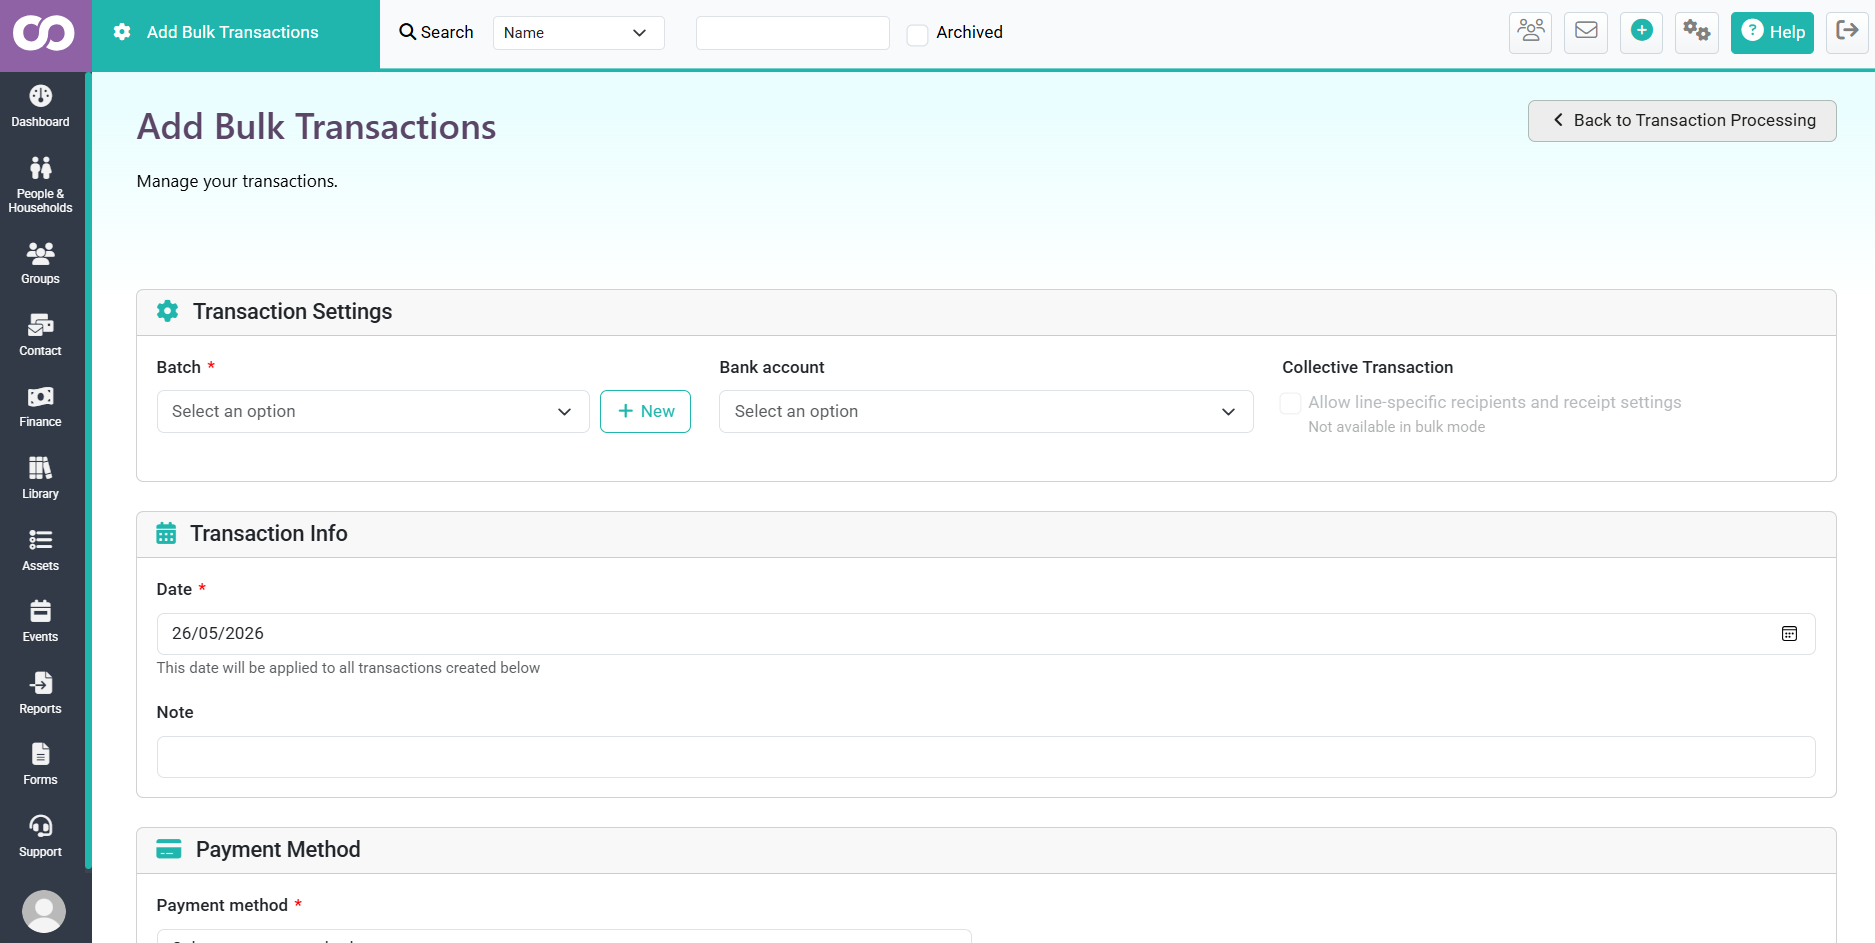
Then the Add Bulk Transactions page opens.
Step 2: Configure Transaction Settings
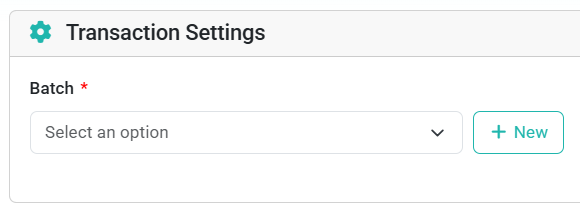
In the Transaction Settings section, set up the batch and bank account for this entry run.
| Field | Description |
|---|---|
| Batch (required) | Select the batch you want to add transactions to from the dropdown. To create a new batch without leaving this screen, click + New beside the dropdown. |
| Bank account | Optionally select the bank account these transactions came from. |
| Collective Transaction | Not available in bulk mode. Use individual or collective entry if you need line-specific recipients and receipt settings. |
Step 3: Set the Transaction Date and Note
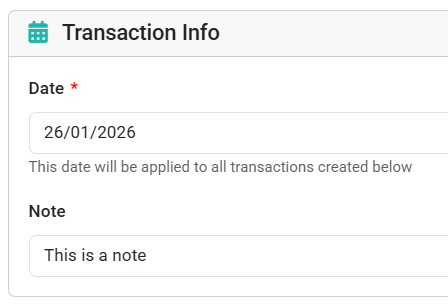
In the Transaction Info section:
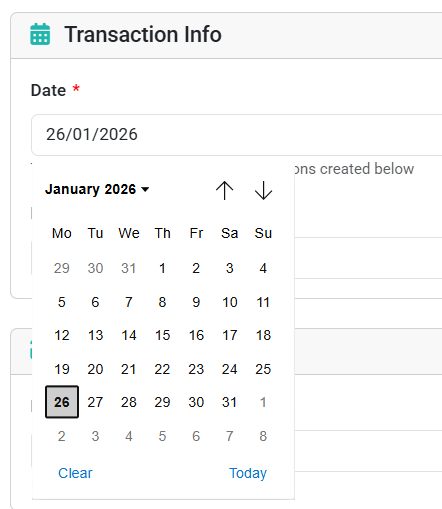
- Date (required) - This date is applied to all transactions you enter on this screen. It defaults to today. Click the date field or the calendar icon to change it.
- Note - Add an optional note that will be attached to all transactions in this run.
Step 4: Choose a Payment Method
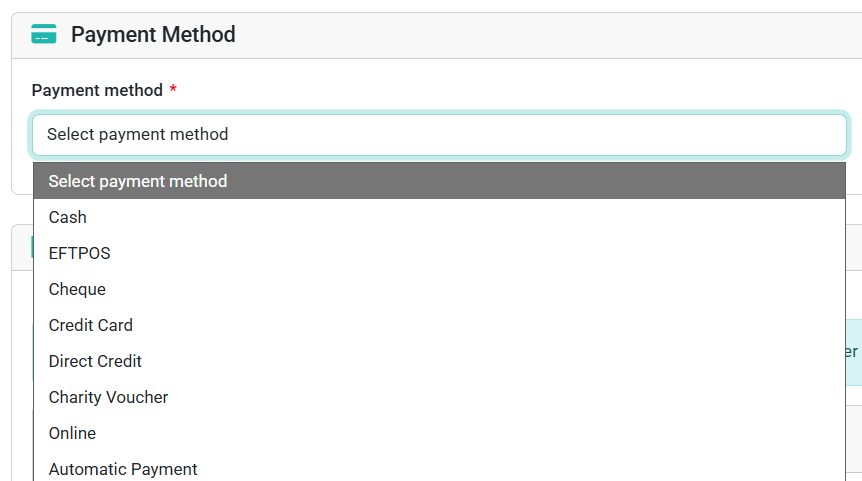
In the Payment Method section, select how the money was received (for example, Cash, Cheque, Direct Credit, or Online).
This payment method is applied to all transactions you enter on this screen.
Step 5: Set the Default Transaction Details
In the Transaction Details section, configure the settings that will be applied to every line you enter:
| Field | Description |
|---|---|
| Transaction Type | Defaults to Account code (a standard donation). Change this if the transactions are for stock items, memberships, or events. |
| Account Code | Select the account code (fund or income category) these transactions should be posted to. |
| Tax Settings | Tick GST if the transactions are subject to GST. Tick Tax rebatable if donors are eligible to claim a tax rebate on these donations. |
| Campaign | Optionally assign all transactions to a specific campaign. |
These are the default settings for all lines. In bulk mode you set them once here, rather than per line.
[Screenshot: Transaction Details section showing Default Transaction Settings panel]
Step 6: Start entering transactions
Once all settings are configured, click Start.
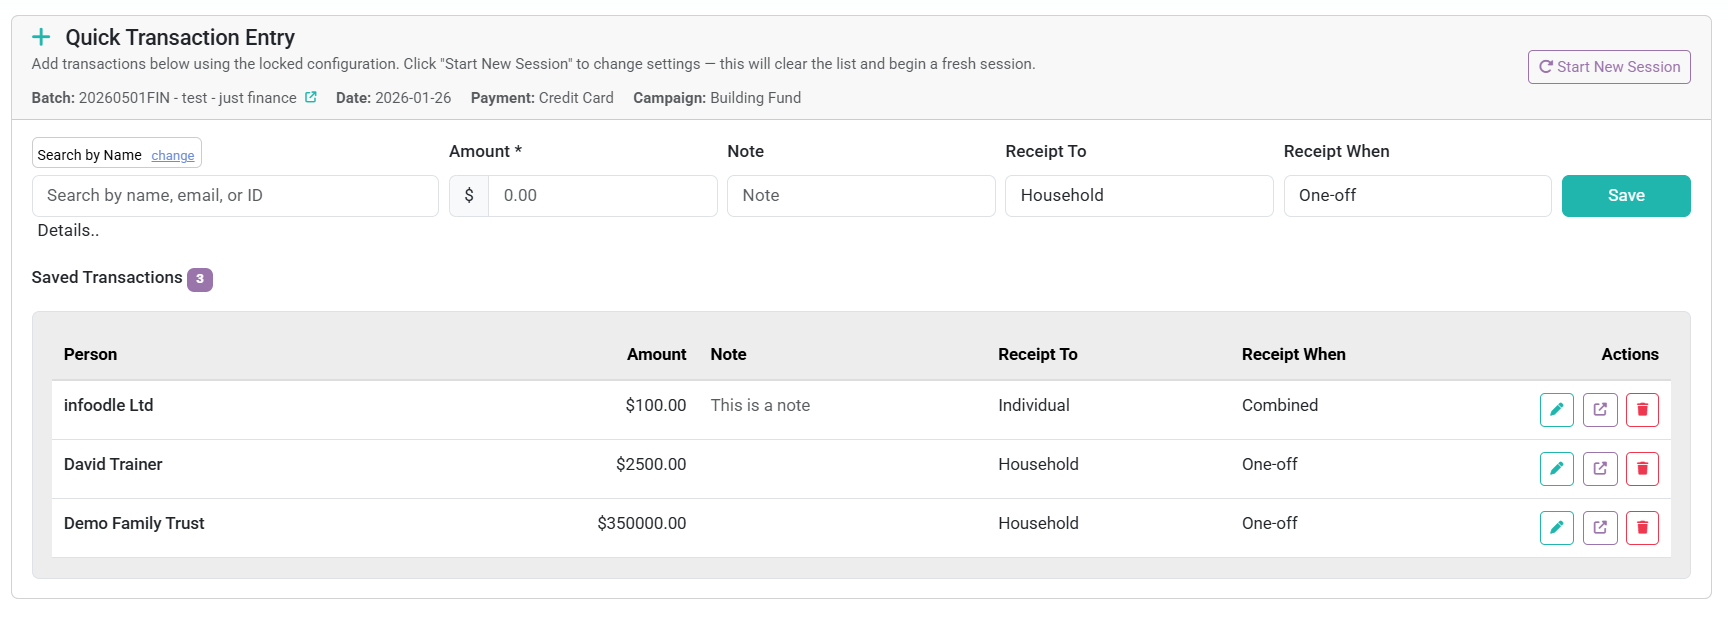
The entry table appears. For each person making a payment, fill in a new row:
- Search for the person - Start typing the person's name in the search field. Select the correct match from the dropdown. If the person isn't in the system yet, use Quick Add to create a basic contact record.
- Receipt to - Choose whether to issue the receipt to the Individual, the Household, or select No Receipt if no receipt is required.
- Receipt when - Select One-off to receipt this transaction on its own, or Combined to include it in a year-end combined receipt run.
- Amount - Enter the amount this person paid.
- Reference - Optionally enter a reference or note specific to this line.
- Click Save (or press Tab) to save the row.
Saving a row immediately reveals the next blank row. Repeat for each person in the batch.
You can edit a saved row at any time — click in any field on the row, make your change, and click Save again.
Changing settings mid-entry
If you need to switch to a different account code, campaign, or payment method partway through:
- Click Change Settings to adjust the default transaction details. New rows will use the updated settings; already-saved rows are not affected.
- Click Change Batch to switch to a different batch without leaving the screen.
When you're done
All rows are saved as you go - there's no final "submit" step. Once you've entered all your transactions, navigate away from the screen or click Back to Transaction Processing in the top right corner.
Your transactions are now in the batch and ready to be receipted. See Adding a Receipt Template for the next step.