There are a number of settings that allow you to change how your Activity Boards Slides look and feel. There are two main types of slides that you can have as well - Event Slides that allow you to show information from your infoodle Events Calendar on a specially designed page; and Images that allow you to view a single image as a fullscreen slide.
Common Settings Page Breakdown:
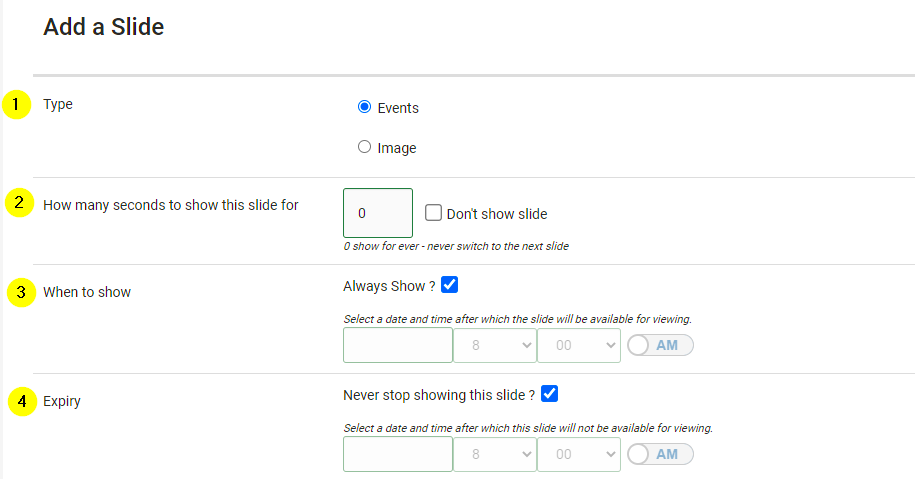
- Type: Here you can select if you want this slide to be an Event or Image Slide
- Duration: Each slide can have a duration in seconds set. For Event slides, we recommend 30 seconds, and between 10 and 30 seconds for images depending on the content of the image. If you set the duration to '0', your slideshow will stop at this slide and no longer progress to the next slide or back to the first slide again. You can also select 'Don't show slide' if you would like to hide this slide from the loop. This is useful for slides that only need to be shown in specific situations, or perhaps need to be updated before showing again
- When to Show: By default your slides are set to 'Always Show'. If you would like to only show a slide on a specific date/time you can uncheck this option and set it here. This is useful if needed as a once-off slide only.
- Expiry: By default, your slides are set to 'Never stop showing this slide'. Unchecking this option will allow you to set a date and time for when this slide should no longer be shown in the slideshow loop. This is useful for slides that are only needed for a period of time. An example could be a graphic image advertising the sign up for an upcoming event. Once signups are closed, you will no longer want to show this slide.
Event Slide Settings:
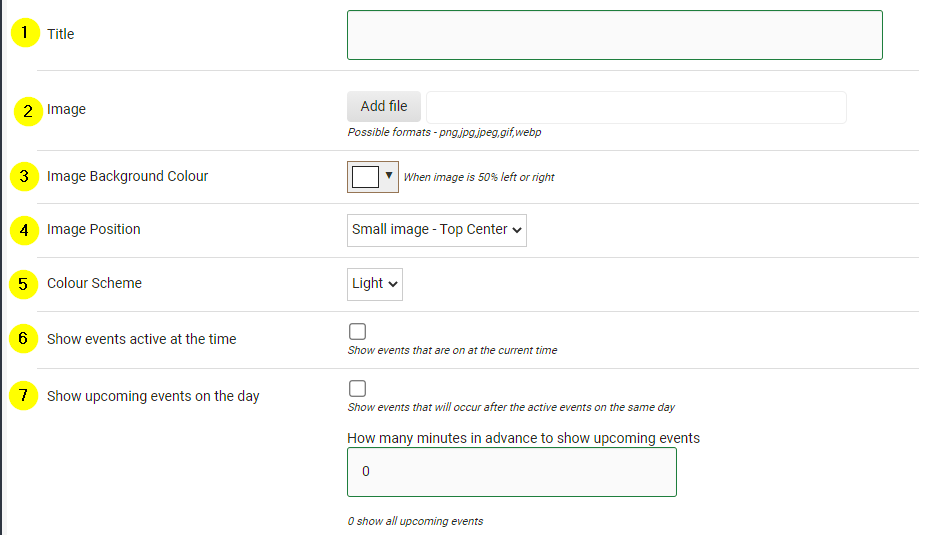
- Title: This is where you set the title of the Event slide. Having a name entered here will display on the Live Slide itself at the top of the page. This is optional.
- Image: Here you can upload an image from your computer (formats allowed are png, jpg, jpeg, gif, & webp). This image is optional, and can either be used as a header image (such as a logo), or a large image that of the left or right of the calendar. The position and display fo this image is determined by 'Image Position' (see point 4).
- Image Background Colour: You can set an optional Background Colour of the image to fill the background gap with a chosen colour. This is only applicable if you are splitting the screen in two segments with the image either on the left or right, and the Event list on the other side. This is determined by the next setting.
- Image Position: By default, this is set as 'Small image - Top Center'. You can also shift it to the left. Or you can split the slide into two halves - with the image on one side, and the event calendar on the other side.
- Colour Scheme: There are two options to choose from. The default of 'Light', and then there is also a 'Dark' colour Scheme. This is down to preference for the look you are after.
- Show Active Events: Events are hidden once the time of day passes the time of the event. You can check this box to include the event that is currently live at that time as well and it will only be hidden at the end time of that event.
- Show Upcoming Events: This option allows you to either view events later on in the day on the slide, and optionally set how many minutes in the future you would like to show events for. Setting this as '0' will show all events for the day. You may choose to restrict this if you have a lot of upcoming events.
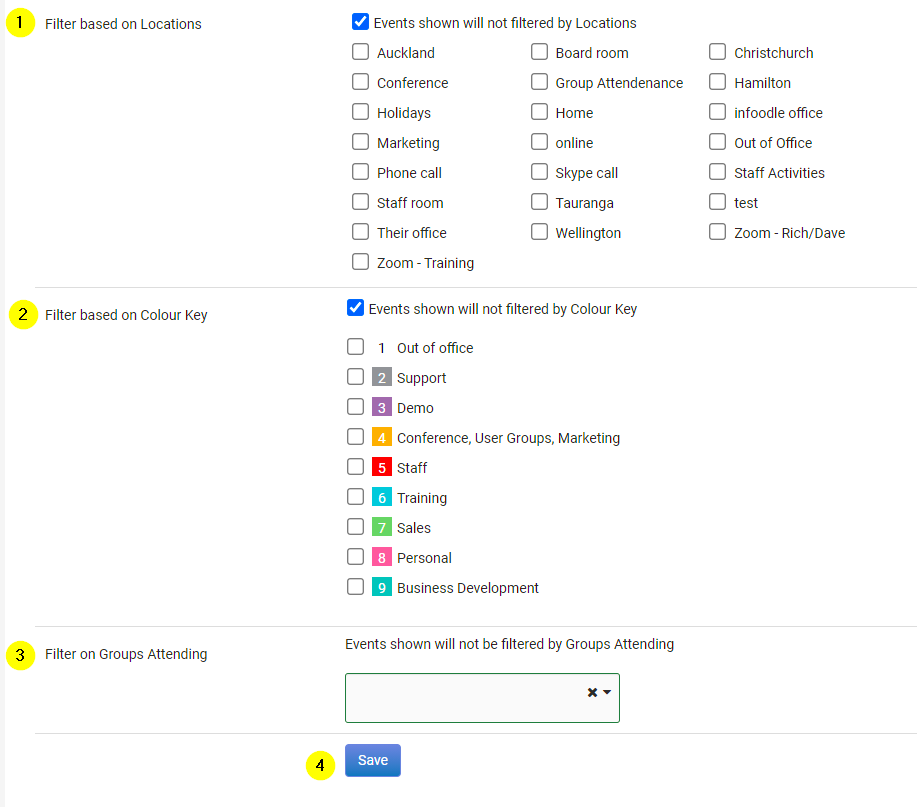
- Filter by Location: By default, your events slide will show events from all Locations. You can select specific locations from your list to only show events related to them.
- Filter by Colour Key: Every event has a colour code that is assigned. By default, your events slide will show all events regardless of the colour key. You can show specific events based on their colour key by selecting them here.
- Filter by Group: Events can have attendees set by Groups. You can choose to Filter by these groups to get very specific information showing on your Event Slide.
- Save: Once happy with your settings for your Event Slide, be sure to click 'Save'.
Image Slide Settings:
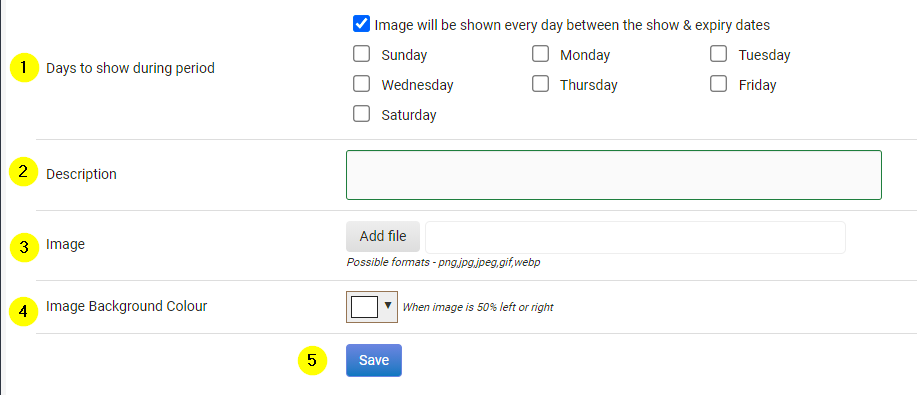
- Days to Show: By default, images will show on all days of the week. There are times that you may want to only show the image or graphic on specific days, such as 'Taco Tuesday!'. You can select the relevant days from this list.
- Description: This is a description purely for your own reference so you know what this image or graphic is.
- Image: Here is where you upload your image from your computer by clicking 'Add file'. Accepted image formats are png, jpg, jpeg, gif, & webp.
- Image Background Colour: If the image does not fill the entire screen, you can set a background colour for the gap. By default, this is set to white.
- Save: Once happy with your settings for your Image Slide, be sure to click 'Save'.