Generating letters and documents through infoodle is easy and the steps are similar to email and text.
From the Contact screen click the Letter tab and follow these steps:
1. Prepare your list of People to send to
Choose your individuals and/or groups to receive the letter. You may wish to select the one per household so even while both Jan and Linsay Armstrong are selected in the list only one letter will be generated.
When selecting this option you will want to select a Combined personalisation (see step 2 below).
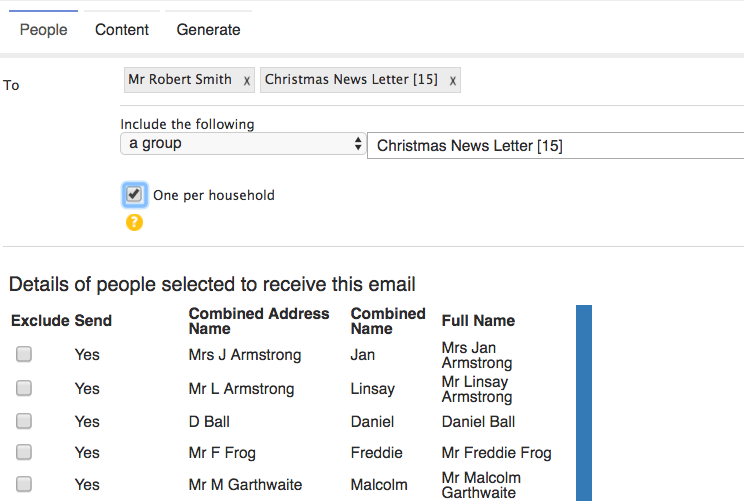
You are able to de-select a person in the list by clicking in the box to the left of their name.
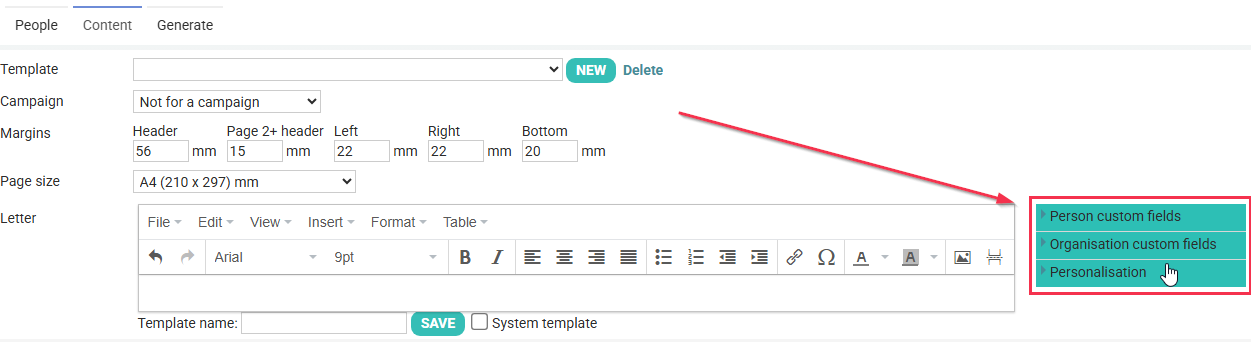
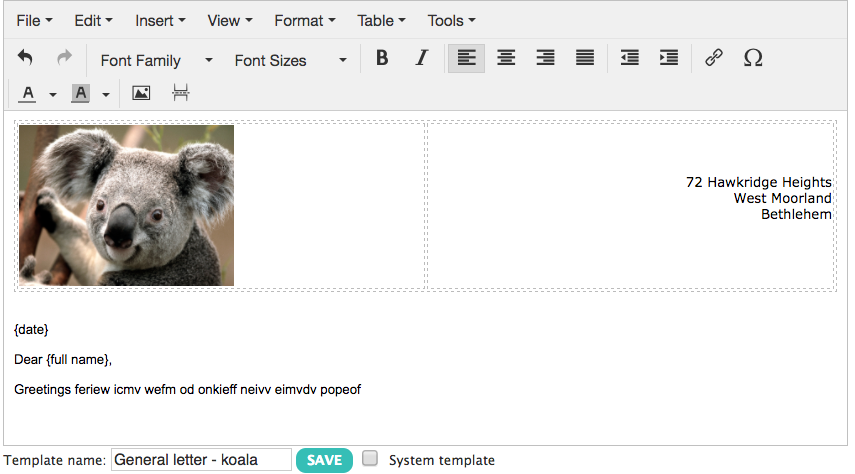
2. Add Content
Personalisations
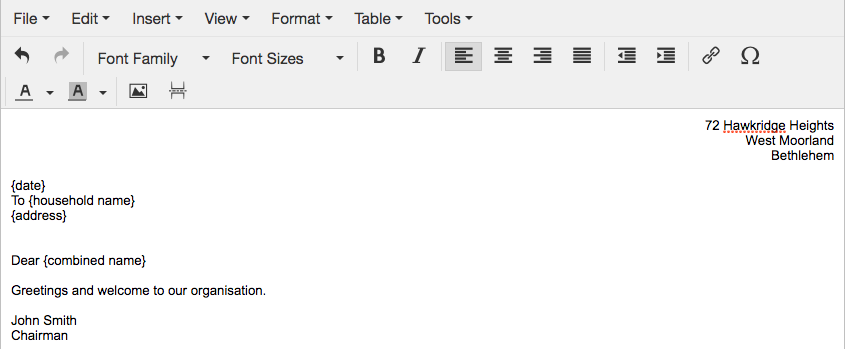
You may want to add more personalisations to a letter such as the receivers address, the date and have the greeting as combined names. These are found under the Personalisation heading on the right of the main body.
If you wish to address a combined household using a personalisation, see Addressing a Combined Household Using Personalisations
Other personalisations that can be added into letters are person and household custom fields.
Template
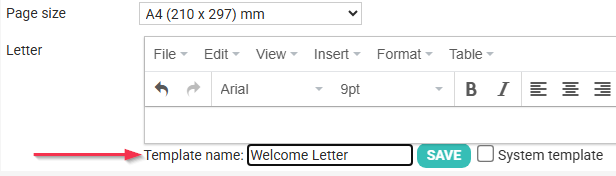
You are able to save templates here, once you have created the content of the letter, add a template name below the main body and save.
To select a template, click on the template dropdown.
Campaign
You are able to link a letter to a particular campaign in order to track the campaign.
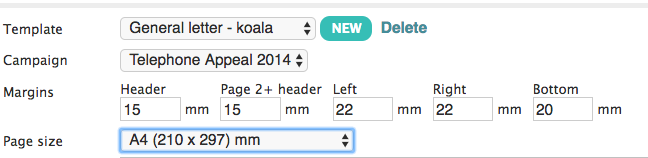
Margins and Paper size
The margins can be adjusted to fit your letter head etc. in the Administration area under System Settings and Letters.
There is a standard list of paper sizes in the drop down list.
Tool bar
The tool bar has tools to help you set out your letter and insert tables and images, etc.
3. Select who has visibility in a person's history
Select who will be able to see the generated document from a receivers history tab.
- Just yourself.
- A particular group, members who are full member or administrator and have permission in their role.
- Anyone, who has permission in their role to see generated documents others have sent.
4. Generate
You may first want to print a test letter. Once you have clicked on test, Show generated document will appear on the right of the All box. Click on this and a new tab will open on your desktop with a number and doc.pdf:

Click on this to show the document/letter.
You will now be able to print in your normal way.
To print all letters, Click on All, then click on Show generated document and then go to print.
Sort order
You are able to force the printing by Name, Postcode or Household.
All your letters are now printed, you just need to print the Address Labels.
See Adding a receipt or statement template for mor information on Setting up Receipts and Statements
See Letters Setup. for more information on the System Settings for Letters
See Producing Labels and Printing Labels for more information on creating Labels