The menu element provides you with the option of inserting a menu into your email and linking from there to the section of interest.
Identify and name the sections to include in the menu
Before creating your menu, you have to first name the sections you want the menu to link to. A Section is a row within your email.
For example:
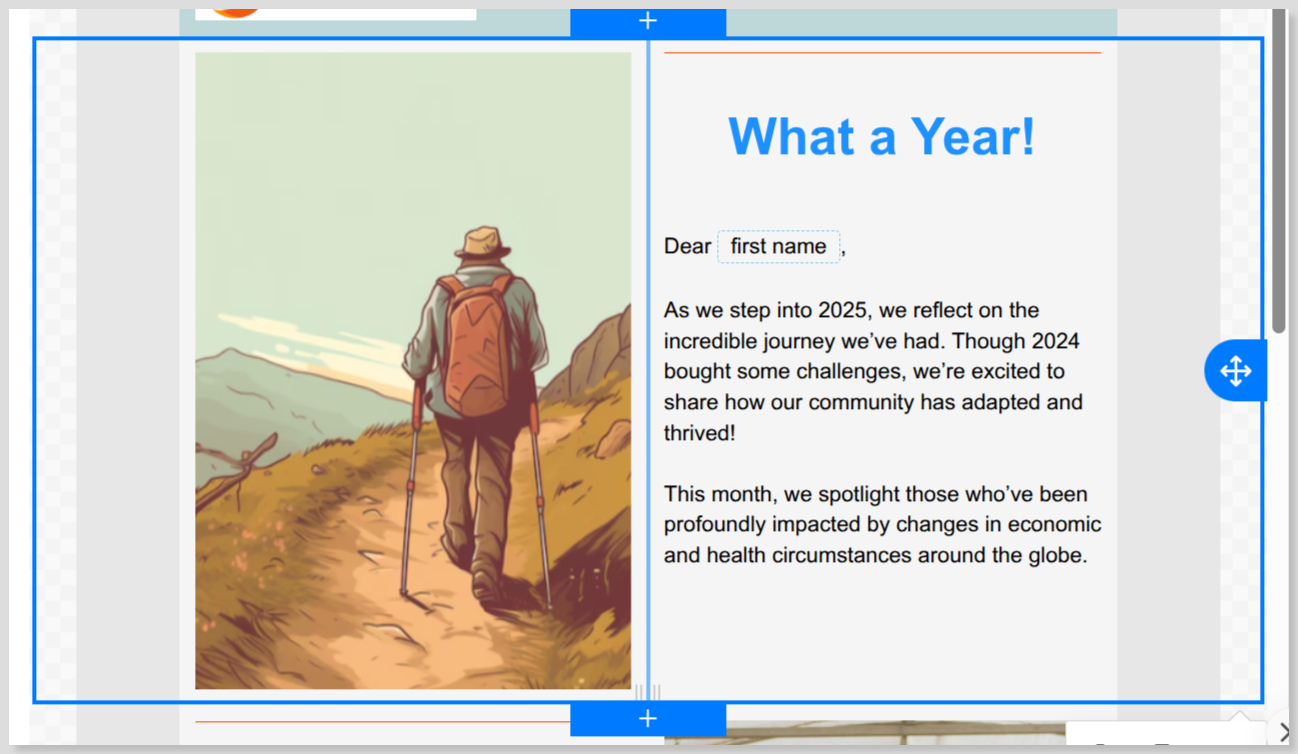
Select the row you want as a menu item destination an in the option options displayed on the right, scroll to near the bottom and in the field under Section Name, enter a name for the row:
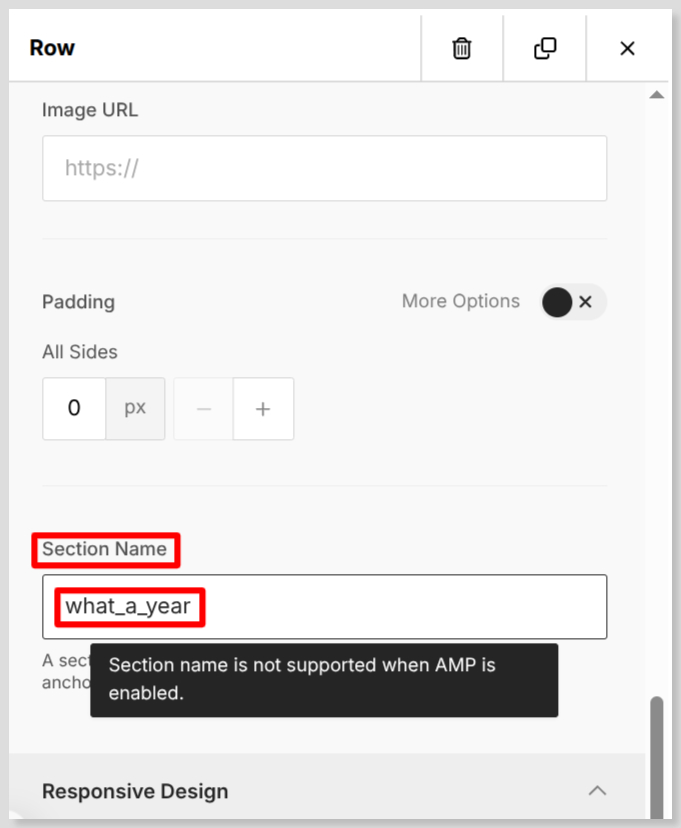
Note that the spaces in the name are automatically replaced by underscore characters.
Ignore the message 'Section name is not supported...'
Repeat for all of the sections you want to include in the menu.
Create the menu
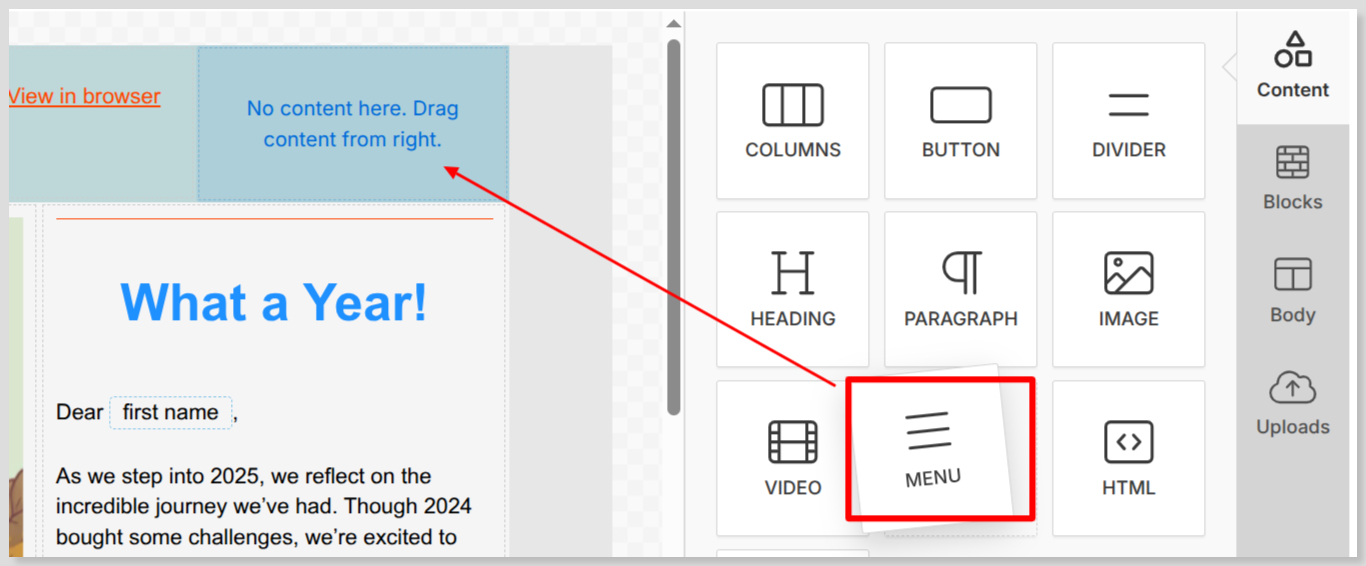
Drag the menu element into a row - column located where you want the menu to display
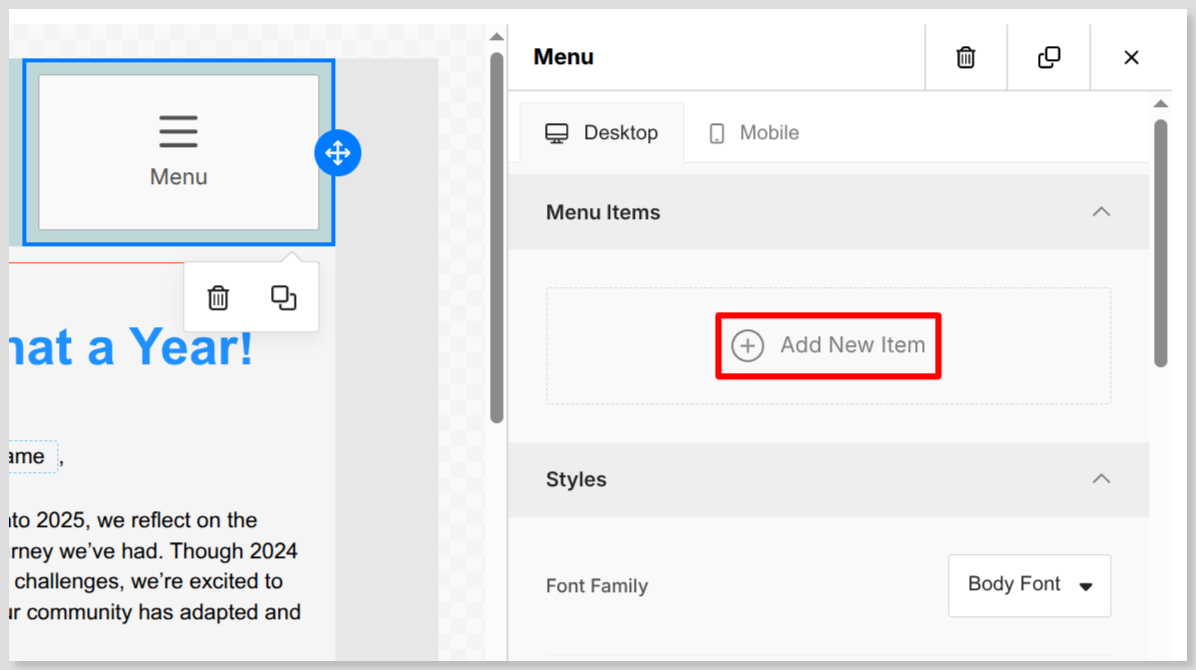
In the options associated with the Menu item (on the right) select Add New Item. This will insert a new menu option.
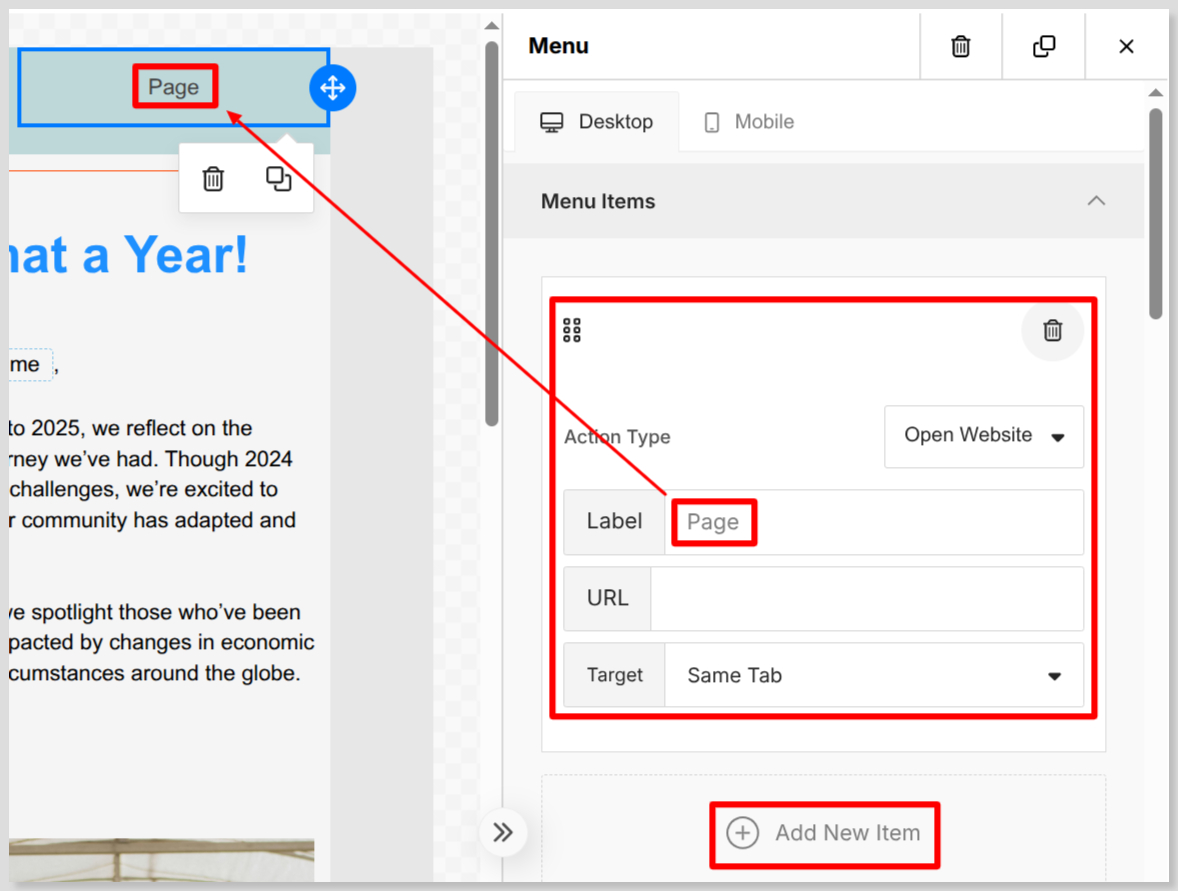
The default menu option inserted will be titled Page. Change the menu option label to suit what you require.
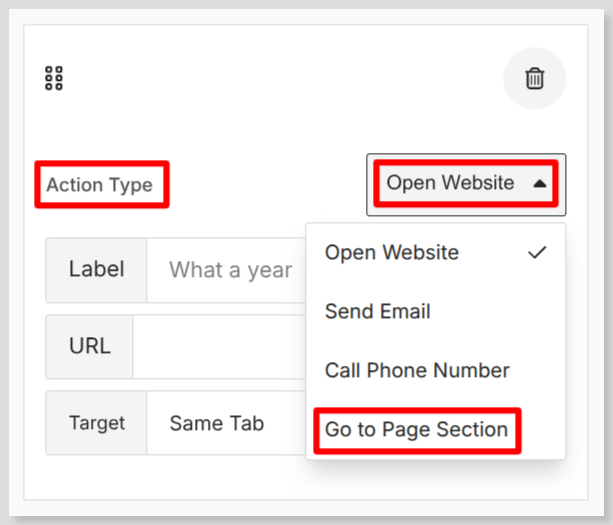
The default behaviour of the menu option will be Open Website. If you are creating a menu option that will link to a section within your email, click on Open Website and select Go to Page Section.
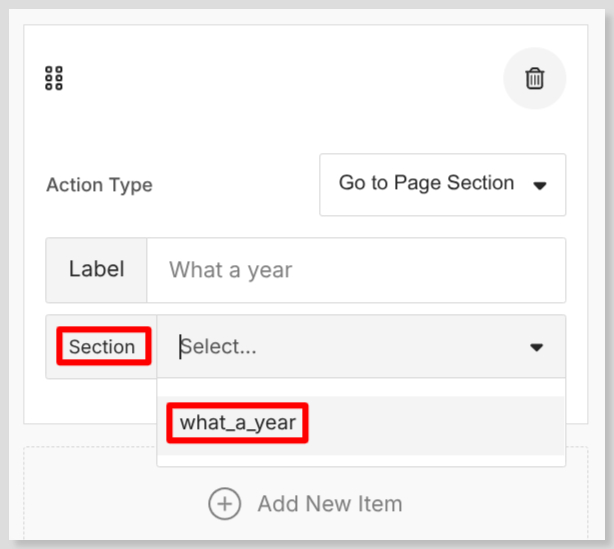
Select the section that this menu option is to link to.
Add additional menu Items to continue to build your menu.
Adjusting menu width
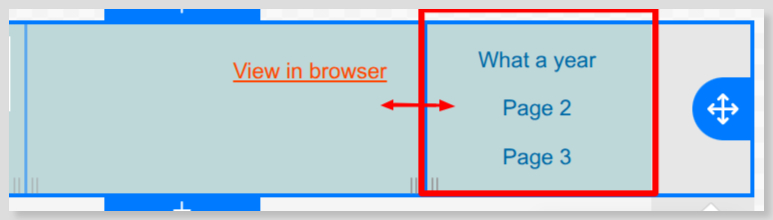
The options you're adding to the menu will arrange based on the column width you started with.
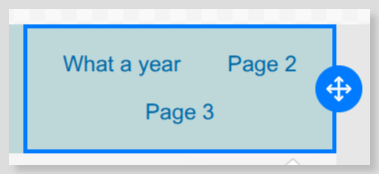
To adjust this to something more suitable, select the row and then adjust the column proportions by dragging the column width divider. For example:
Menu design
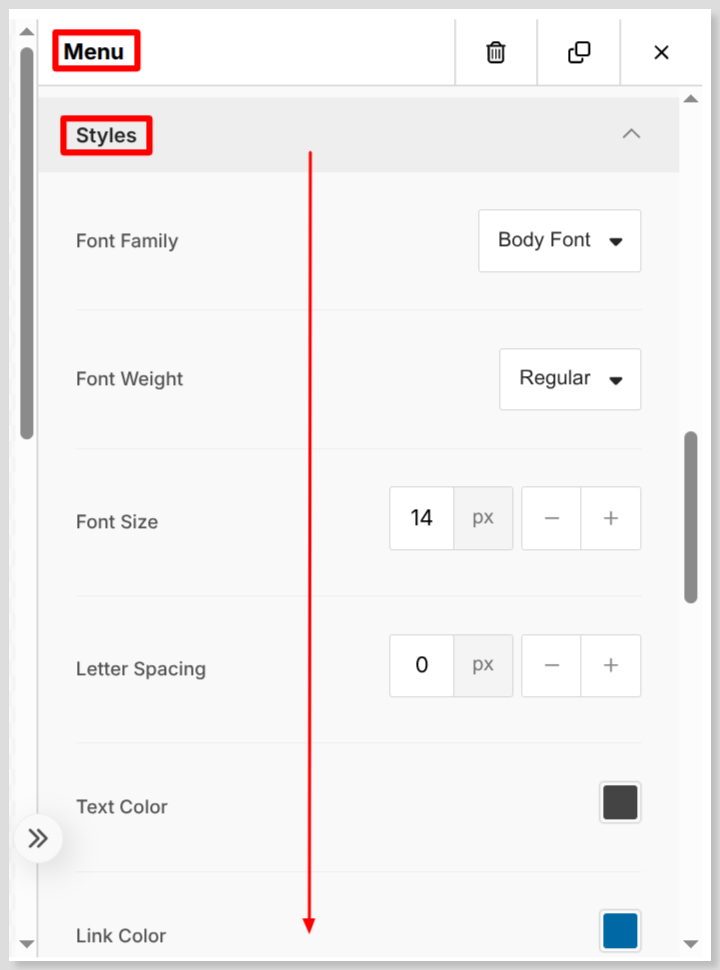
Lower down the Menu option are Style and other settings associated with this menu. Work your way through the options and making the settings you require.