Use People Reports to extract and analyze contact data from infoodle. Filter by status, groups, finance data, and many other criteria; choose how to group results; select which data fields to display; and then view, download, merge, or process the results.
Step 1: Create Criteria
Criteria are the filters that control which people appear in your report.
- Click Reports in the main menu
- Click People under Report Areas
- Click the Create Criteria tab

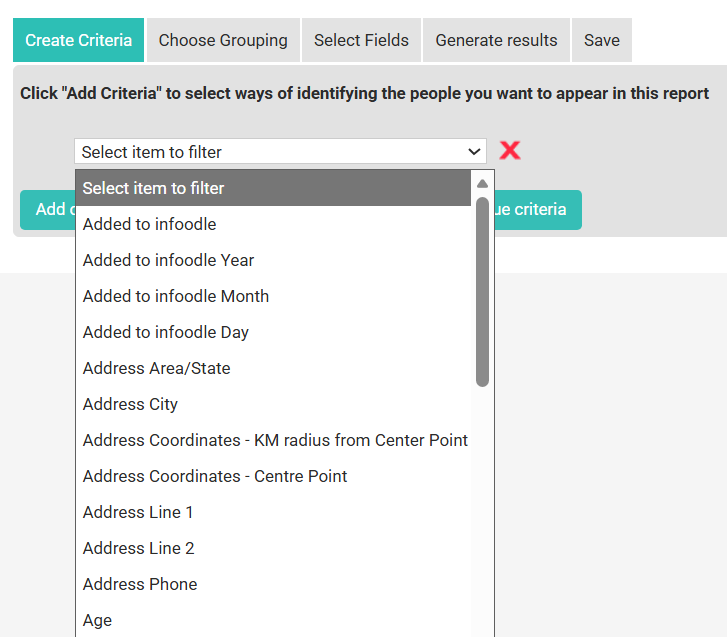
- Click Add criteria
- Select the field to filter by (e.g., "Status", "Groups", "Date of Birth")
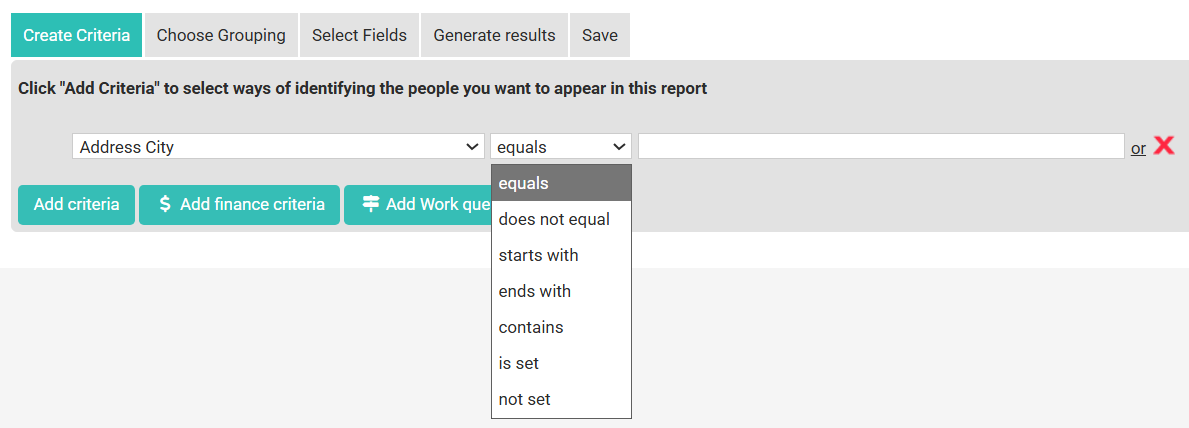
- Select an operator (e.g., "equals", "contains", "is greater than")
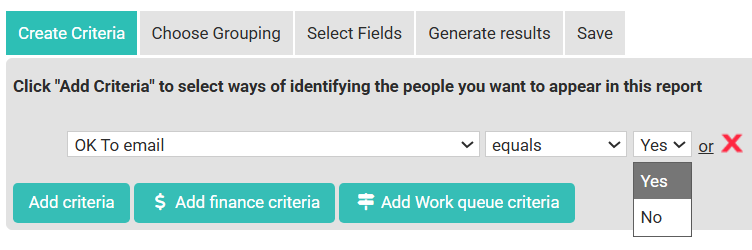
- Enter or select the value (e.g., "Active")
- Repeat to add more criteria
Available criteria types:
- Standard Criteria — Filter by basic contact properties such as status, contact type, name, email, phone, address, date of birth, and custom fields
- Finance Criteria (Finance Package required) — Filter by giving records, receipt history, gift aid status, and giving statements
- Work Queue Criteria — Filter by assigned work queues and completion status
Step 2: Choose Grouping
Grouping organizes your results by a chosen field.
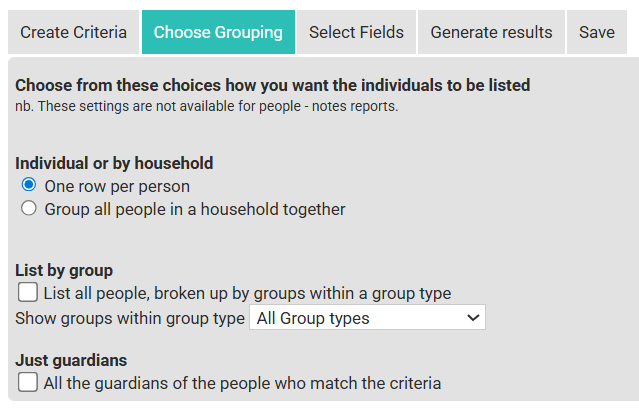
- Click the Choose Grouping tab
- Select how you want results grouped:
- Individual — One row per person (no grouping)
- Household — Results grouped by household
- Group — Results grouped by group membership
- Guardians — Results grouped by guardian relationships
Step 3: Select Fields
Fields control which data columns appear in your report results. You can either tick the boxes or use a preset fields.
Select your own
- Click the Select Fields tab
- Check the boxes next to the fields you want to include — fields are organized by category:
- Person — Name, email, phone, address, date of birth
- Groups — Group memberships, permissions, dates joined
- Finance — Giving records, receipts, statements, pledges
- Household — Household name, type, address
- Relationships — Links to other contacts
- Custom fields specific to your site
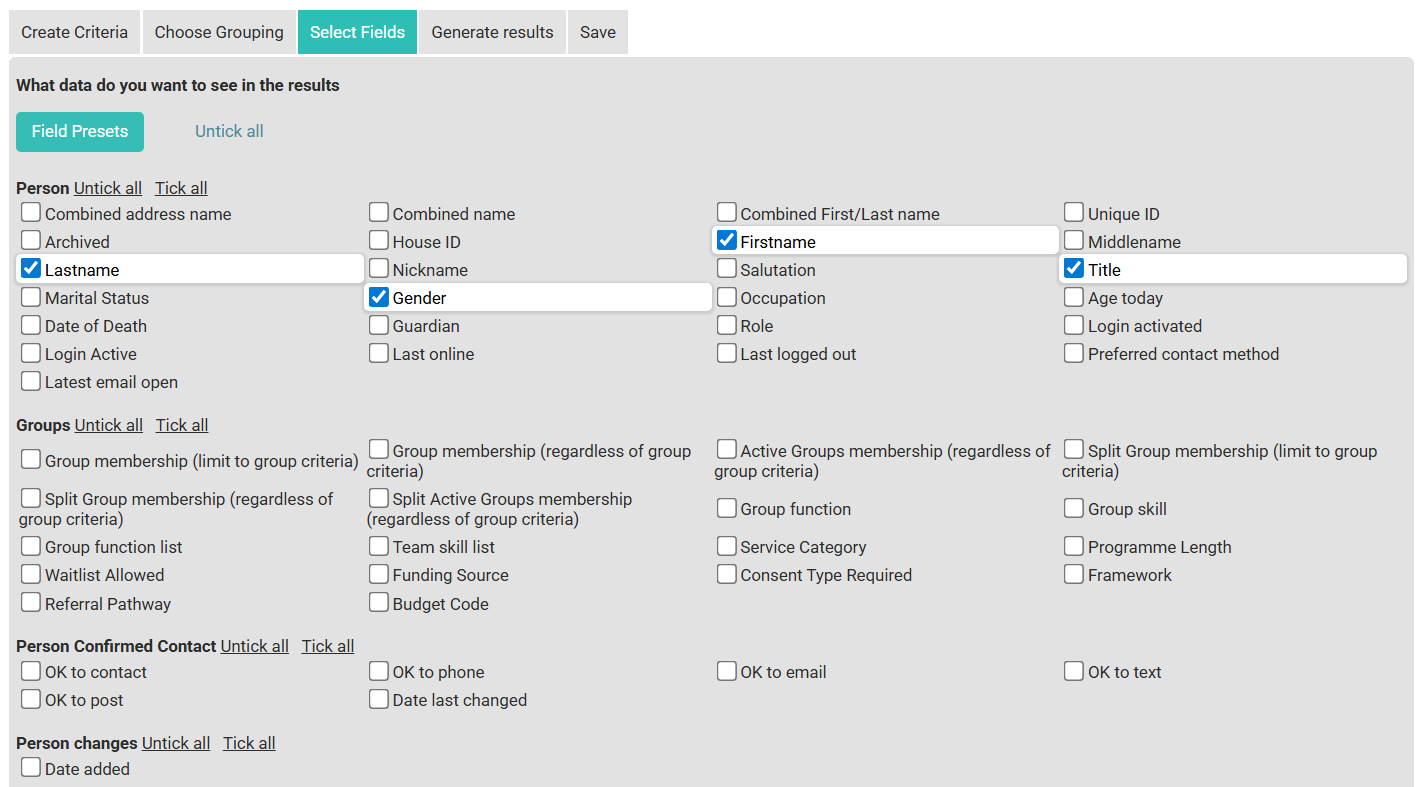
Field Presets
Follow the steps on the Preset Fields page.
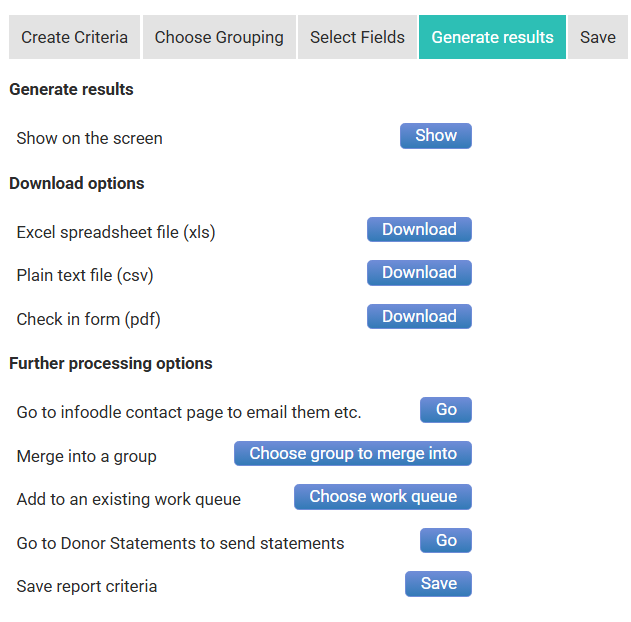
Step 4: Generate Results
- Click the Generate Results tab
- Your results will appear in a table
- From here you can:
- Export to Excel — Download as .xlsx
- Export to CSV — Download as plain text
- Merge into a group — Add all results to a group
- Add to a work queue — Assign results for processing
- Send email — Email all people in the results
- Send statements — Generate giving statements (Finance Package only)
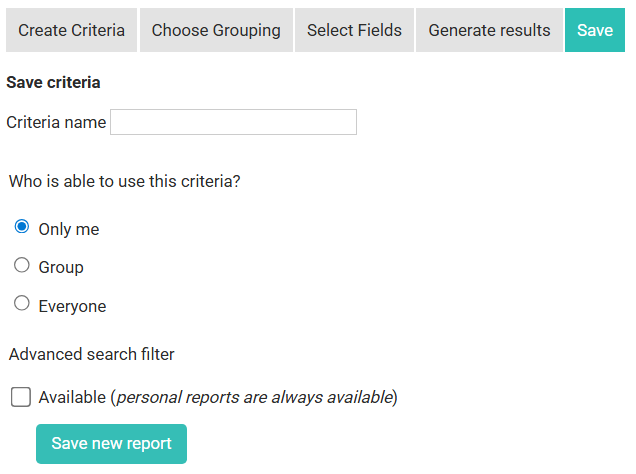
Step 5: Save Criteria (optional)
- Click the Save tab
- Enter a Name for this saved criteria
- Enter a Description (optional)
- Set Access:
- Private — Only you can access it
- Public — All users with report permission can access it
- Click Save
Related Pages