Campaigns are used to collate transactions together and can be for any purpose e.g. an appeal or a project you're raising funds for. Basically you can tag a transaction to a campaign category (in addition to tagging it to an accountcode etc.) so that you can run a report to see how much money was received against a particular campaign. You can also generate receipts for people who have given to a particular campaign by filtering the receipt screen.
How to set up a campaign:
- Click Finance on the Navigation menu. (You will need permission in your role to access this).
- Click Campaigns.
- Click Add.
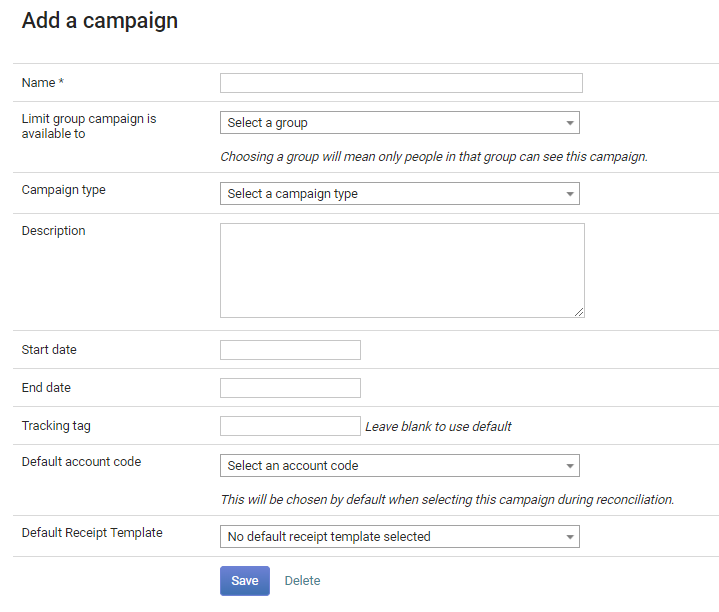
- Enter a Name (This will appear everywhere the campaign is shown).
- Choose the Group in the Limit group campaign is available to drop down list if you want to limit this campaign to a specific group. This is optional and is not required.
NB: The groups shown here are those with 'Tasks' ticked in the group setup. To check/change this go into the group and edit it. - Select a Campaign type. This gives you the ability to group campaigns by campaign type in the campaigns area. This will enable you to visually see your campaigns grouped together.
- Enter a Description if necessary.
- A Start Date and End Date can be added (one, either or both dates as required). These can help when producing reports.
- Enter a Tracking tag or leave it blank to use the default. Again, optional - this is optionally used when generating emails or labels for instance.
- Select a Default account code if required.
- Select a Default Receipt Template if needed.