This feature allows you to enter a collection of transactions that have been gathered by one individual or organisation on behalf of multiple individuals, and which need to be receipted to each of those individuals.
For instance, you could have received several donations for your general funds on Sunday and another collection for the building project. You can load both into the same batch using the Add collective transaction screen.
To view this feature the Finance Fund Raiser view will need to be enabled. For more information, see, Packages and Views
Settings
-
Select Finance on the Navigation Menu.
-
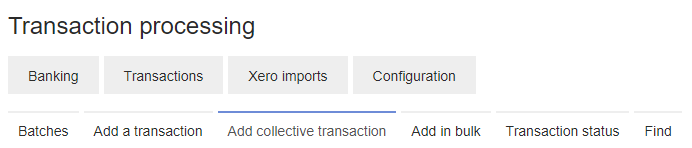
On the Transaction Processing, select Transactions and then Add collective transaction.
- You have the option to choose an open batch to add the collection of transactions to, create a new batch, or rename an existing batch.
Select the batch that you wish to add the collection of transactions to:

- Select CHOOSE.
-
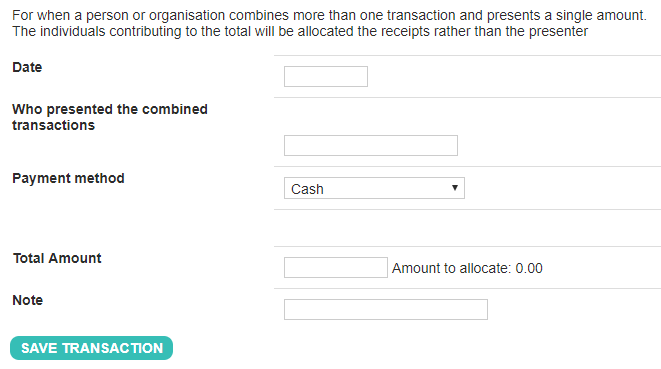
Select the Date box and select the date on the calendar that the transaction was processed, or the date on the cheque.
-
Search for the person who presented the combined transactions by starting to type the first few letters of their name. As you type, infoodle will search and show a list of possible matches. If a match is found, select it. To view a popup containing more information about the person, select Details.
-
If the person is not currently in the database, as you search you will have the option to select Quick Add. Add their name and address at this time. Additional details can be added later.
-
Payment method - select from the drop-down. Depending on the method chosen, different additional and optional fields can be completed. Often this is a reference number to be used in the batch report. The reference fields are also searchable when looking for people who provided a donation.
The Cheque method allows you to store the cheque details which will show in the batch report. This is useful if you wish to use the batch report as a payment slip.
The Branch code field is loaded with a current list of all NZ bank branches. Type in the six digit code for the bank or branch and then select on the match that's presented. If the code is not found then you will need to enter it manually.
When using the Credit Card method make sure that you do not store credit card details in infoodle as we are not authorized to do this.
-
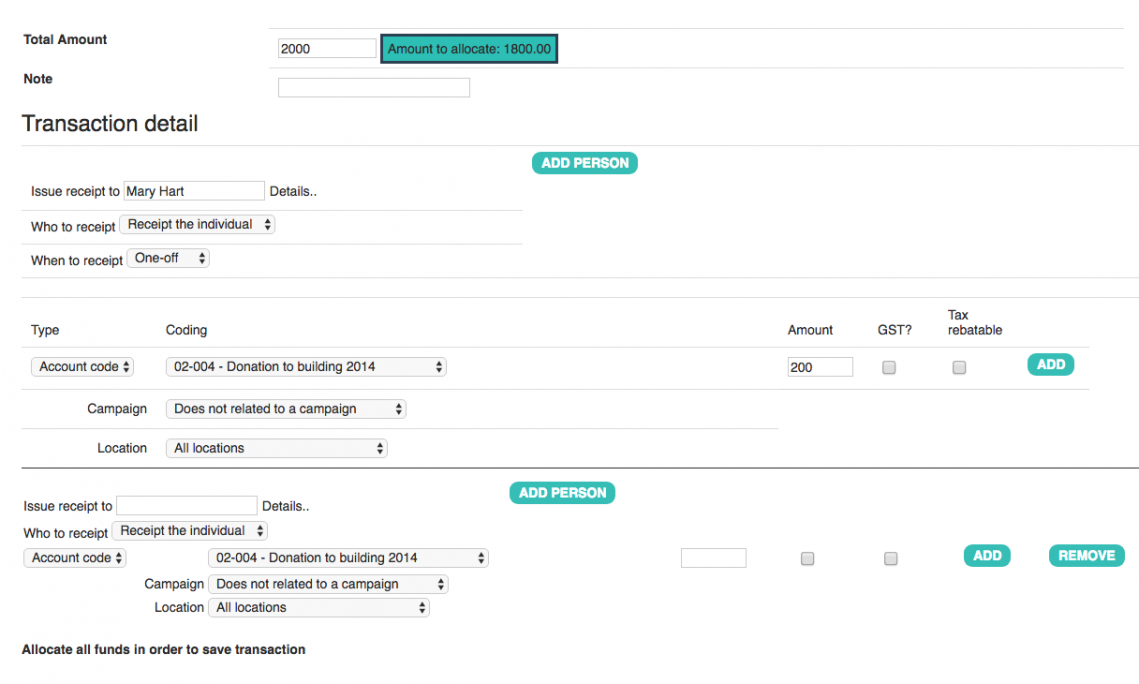
Total amount: - this is the total amount presented. As you enter the number, further fields to be completed will be displayed.
-
Note - add as necessary.
-
Complete the transaction details for the first person of the collection. Select who to Issue receipt to by typing the first few letters of their name.
-
Who to receipt - this allows you to choose whether to issue the receipt in the name of the individual(s) or the household(s) or organisation(s). The third option of No Receipt marks the transaction as not requiring a receipt.
When issuing a receipt to a household (or organisation), infoodle will use the Household name (or Organisation name). However, if you have a Receipt alias setup in the profile, the alias will be used instead.
-
Select When to receipt from the drop-down options, This provides the option to select whether the transaction is to be receipted at the end of the year (Combined), or ad-hoc (One-off). It is only used to filter the transactions on the Receipts screen and has no other specific meaning.
-
Complete the rest of the transaction details. See Transaction Details for more information on these fields.
Once you have completed the transaction details for the first person following the instructions on the Transaction Details page, remember to come back to this page for information on how to add additional entries.
- As this is a collective transaction, you will need to add additional person or persons until you have fully allocated the total amount. To do this click ADD PERSON and enter their details. This can be repeated as often as required. To remove the boxes not needed select REMOVE.
-
Once all people who are part of the collective transaction have been added, and funds have completely allocated, select SAVE TRANSACTION.
Save Transaction is only shown when the total amount entered at the top of the screen matches the amounts listed in the transaction detail(s) and the Amount to allocate value is zero.
These individual amounts that are entered as a collective transaction can be viewed in the Finance section of the individuals profile. While in a person's profile select the gear icon to the left of the person's name and select Finance to view the individual's transactions. For more information on how to add the Finance tab, see People Function Menu.
Next Step
If you are ready to receipt, see Receipts.