To output labels, you need to tell infoodle what information you want to appear on your labels. Note that there is one format of labels for all check-ins, but each group is able to turn on and off elements you have specified on the label - for example, you may want to show a birthday cake for the kids, but don't show anything for the adults.
To configure the Settings required for label printing during check in:
-
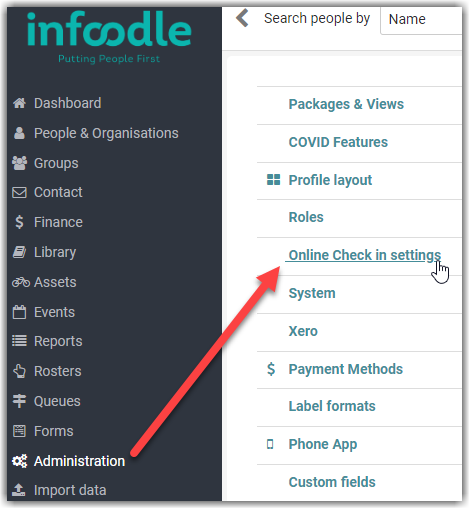
Click Administration.
-
Click Online check in settings
-
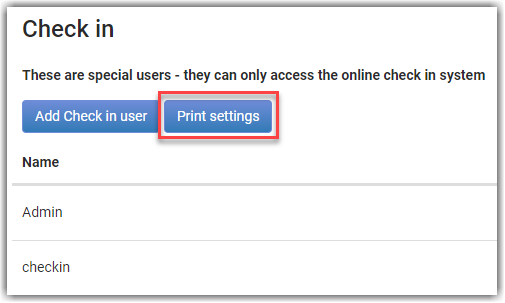
From this screen - select Print settings
-
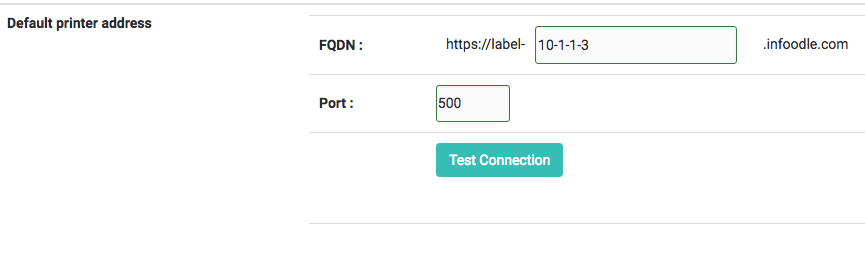
First check the Default printer address settings. This is likely to be the same address all users will use. If they don't have one setup already, this information will be used as a default. Consult your setup guide to determine these values.
-
Once you have entered your FQDN and Port values click the Test Connection button. This allows you to check to make sure it's connecting to the default printer. If you test the connection, you will later be able to test your label formats.
Your screen will look similar to this:
-
To start the configuration process, select the printer you will be using and have checked is producing labels, from the dropdown list.
-
Click the Test Print button. This produces a helpful label which shows you the dimensions of the label. The dimensions are useful when determining the X and Y coordinates of the items to place on the label.
-
Now you can proceed to the label configuration.
Further information on Label Configuration Settings
There are 3 different check in labels:
-
Parent label. Normally minimal just the security code or similar.
-
Visitor label. Depends how you want to process visitors. Note that no custom fields, birthdays or cell or email information is available for a visitor.
-
Check in label. This is the main label used for the person checking in.
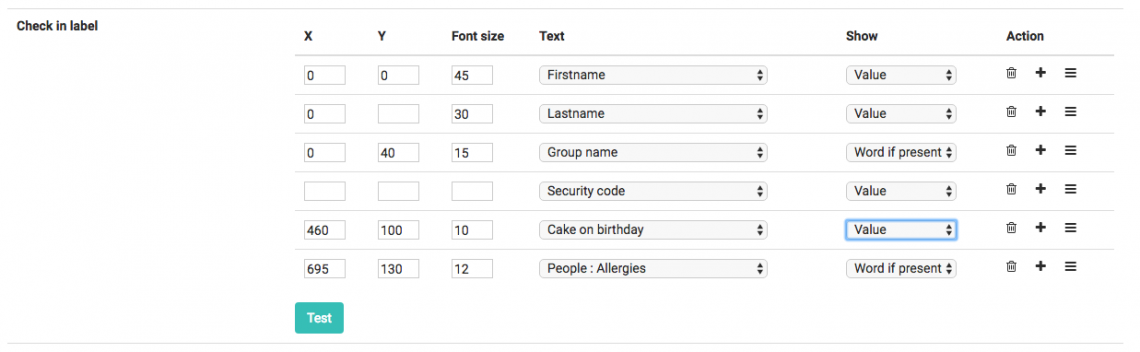
Below is an example of the settings.
You can set up or edit any of the following:
-
X and Y Coordinates - These values are whole numbers and specify the top left hand corner. X is the horizontal (width), and Y is the vertical (height) of the label.
-
Font Size - enter a font size here.
-
Text - Choose the text you want to have printed on the labels by selecting fields from the dropdown menus.
-
Show - this column allows you to choose different ways the information is shown on the label:
- Value: The actual value stored in infoodle is shown.
- Word if present: If there is a value, then the name of the field is shown on the label. e.g. Allergies. The word allergies is shown, not the actual allergy.
-
Action - To remove the line of information, select delete (the trash can icon). Note there will always be 1 line. The check-in user will opt not to have that label type if they don't need it. To Add a new piece of information to the label select 'Add'.
To reorder the labels, click the three horizonatl bars icon and drag to the order required.

Special values
Group name:
This is the name of the group that the person is being checked into.
Security code:
This is a 4 character unique code for the person being checked in. If a parent label is chosen also, then the parent and child labels will have the same code added to them. In addition, all the children who are checked-in at the same time for the same family, in the same group - will also share the same code.
Reg #:
This is a unique 3-digit number for each person being checked-in. If a parent label is also chosen, the parent and child labels will have the same number added to them. In addition, all the children who are checked in at the same time, for the same family, in the same group - will also share the same number. This is useful as a pager number or similar.
This number is not stored with the individual - so if they check in again, they will have a different number. It starts at anywhere from 0 to 999, and cycles round i.e. once it hits 999, the next person will be 000.
Cake on birthday:
If the person being checked in has a birthday between the date of the event and the number of days specified during the check in setup process, then a picture of a cake is added. This picture is supplied and stored in the same folder as your labelserver. If you wish to change it - feel free, it must be the same name (cake.bmp) and in the .BMP format.
Logo:
This is a single logo for all people being checked in. This file needs to reside in the same folder as your label server, and is in the .BMP format. The filename must be logo.bmp.