Overview
Creating forms in infoodle enables your organisation to collect data and/or payments quickly and efficiently. Once someone has filled in a form it then needs to be processed. If this is part of your role you may be set up to be notified by email when an entry is completed. Alternatively you can check for form entries in the Forms area.
Let's look at how to process a form here.
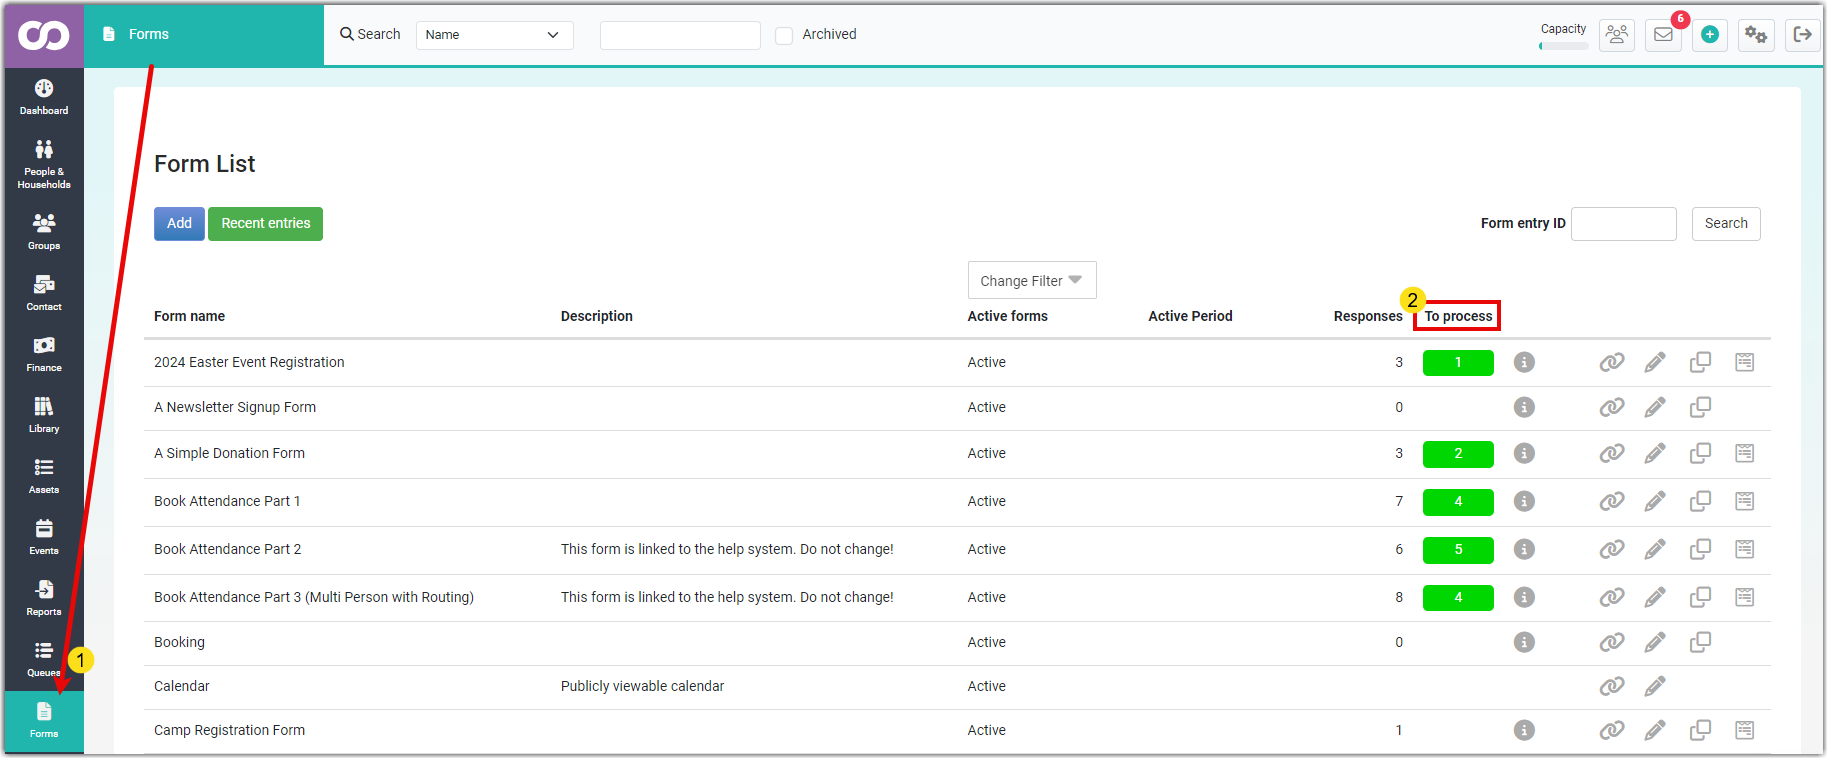
Click on Forms in the Navigation bar/menu to view the Form List.
The To Process column will show a Green box with a count inside, to indicate the number of From Entries available to be approved for that form.
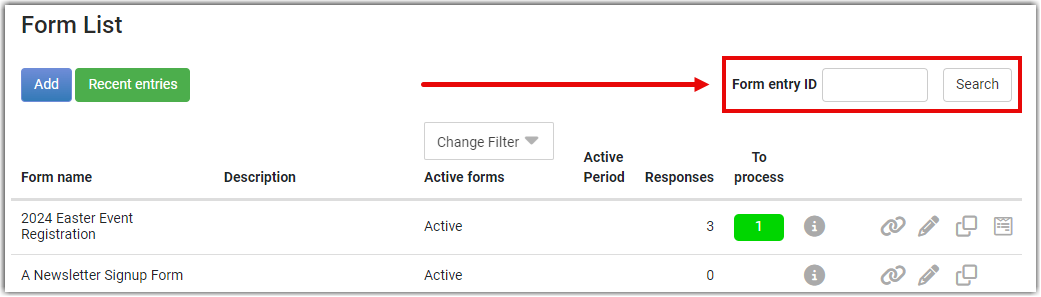
Search For Specific Entry
There is also a search box on the forms list screen which allows you to enter the Form Entry ID and go directly to the form entry in question whether it has been approved or not.
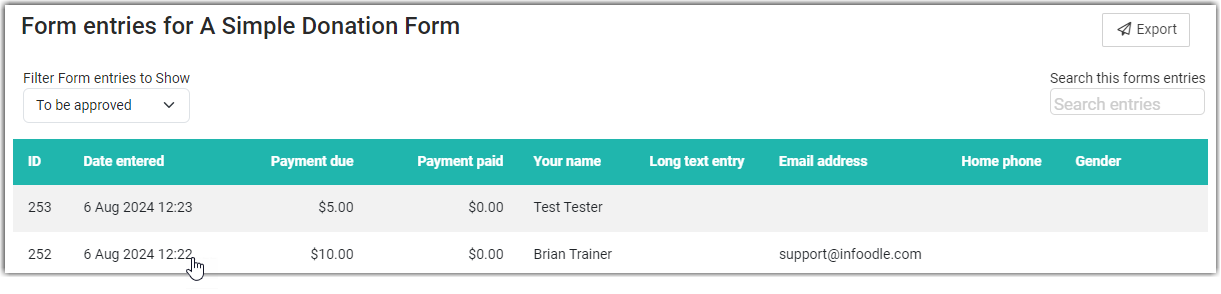
Processing Entries
When Viewing the Form Entries list, click on one of the entries and the approval form will open up starting with the form Entry ID no.
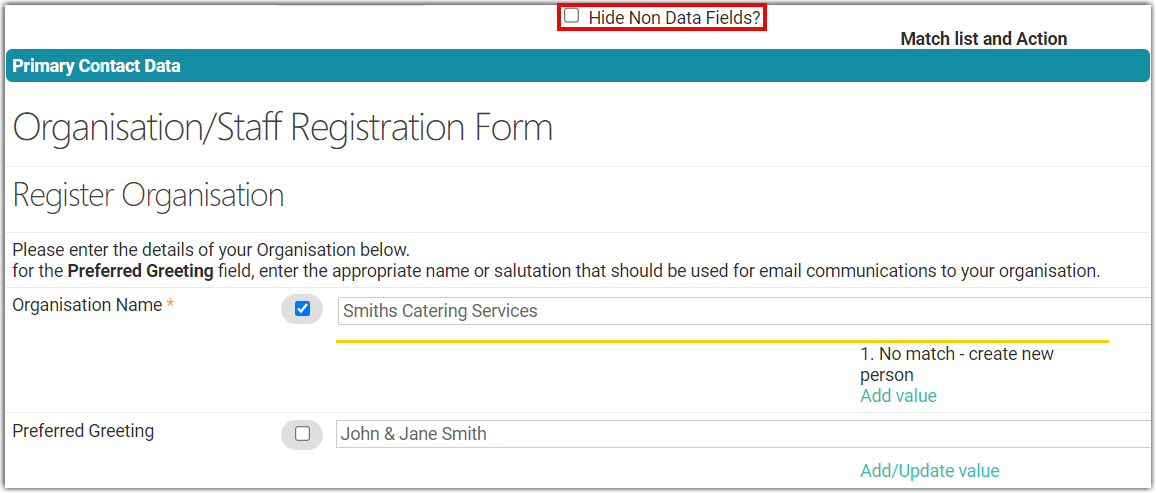
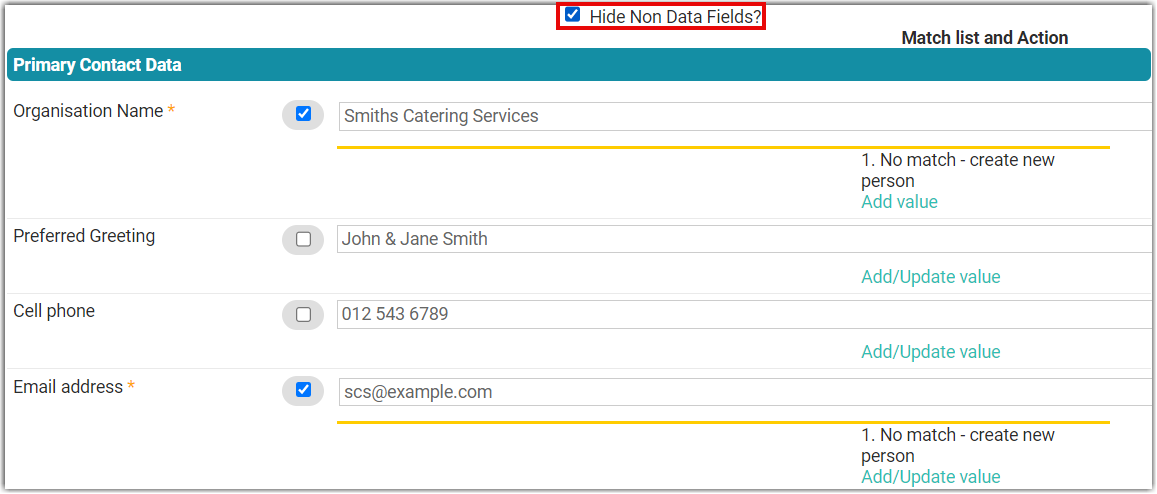
When looking at a Form entry, you can simplify the information displayed by hiding all fields on the form that do not relate to data entered using the Hide Non Data Fields? tick box at the top of the page.

This option can make entry processing much easier, especially on forms that use a lot of Text, images or other informational content.
Below is a comparison of the same form entry with non-data fields shown and hidden:
| Show Non-Data Fields | Hide Non-Data Fields |
|---|---|
 |
 |
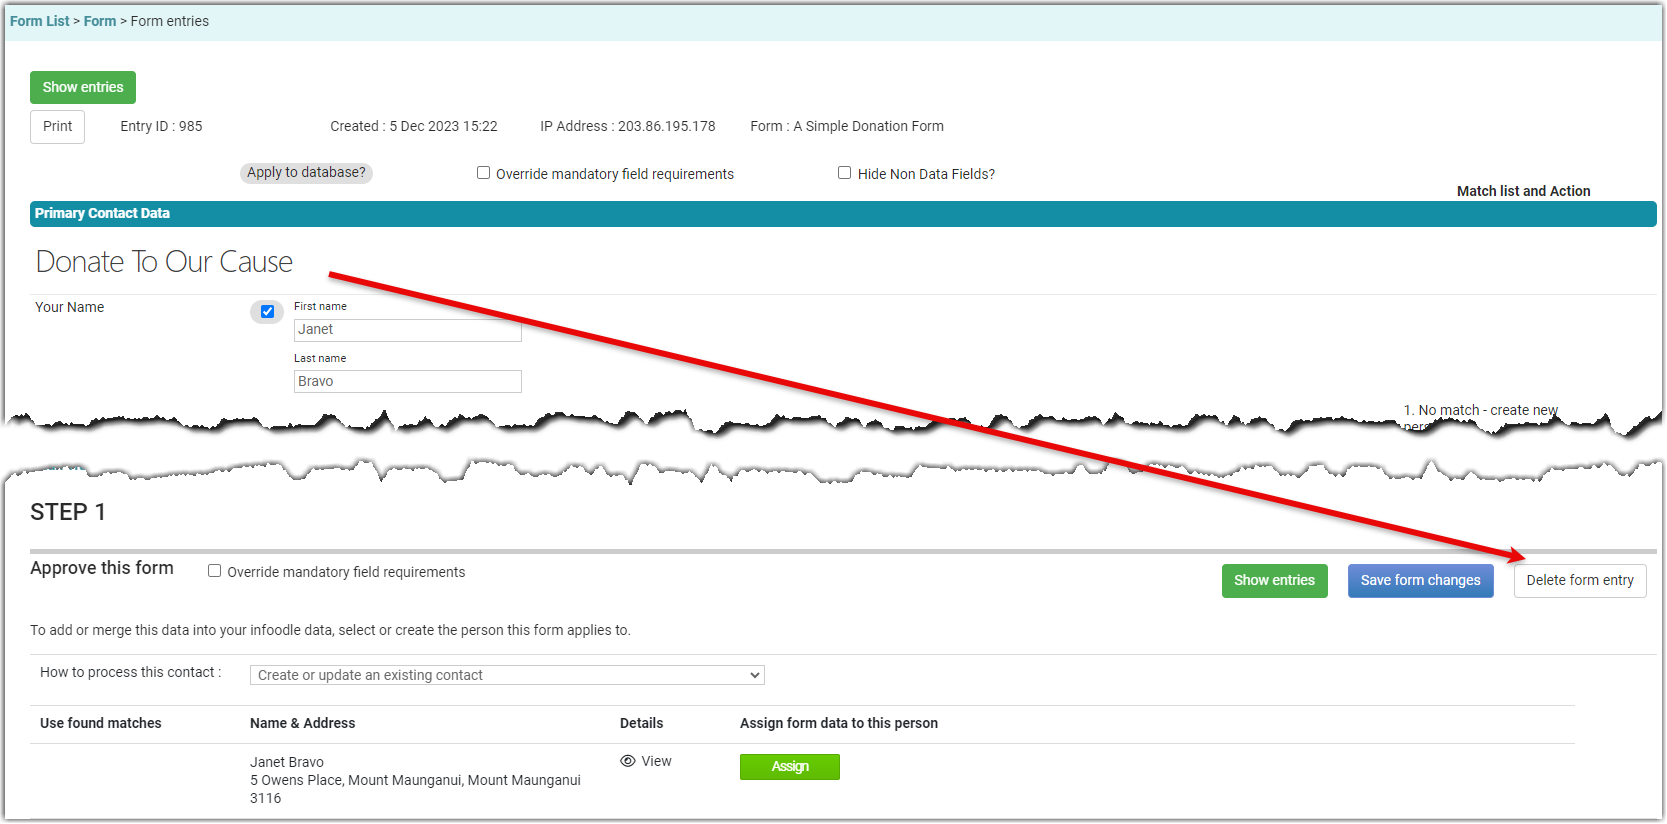
Deleting Form Entries - Pre-approval
You can use the Delete form entry option if this form entry is not required. Deleted form entries cannot be linked to a contact, or used to create a contact, but they can still be found using the Deleted option on the Form Entries page. You can also Un-delete a form entry at a later date if needed.

If you select Delete form entry the form entry will be marked as deleted and all the associated information will not be added to your CRM.
Do not delete a form unless you are sure it is junk or not needed.
On the Forms Entries screen you can filter to show those forms that have been deleted. You can then show that form and 'undelete' it.
Deleting Form Entries - After approval
If a form has been assigned to a contact and approved, you will first need to disconnect the user from the form before you can delete the form entry.
If the form relates to a recurring pledge, deleting the form will not automatically delete the pledge and you will have to manually do this. For information on how this is done, see: Deleting a pledge.
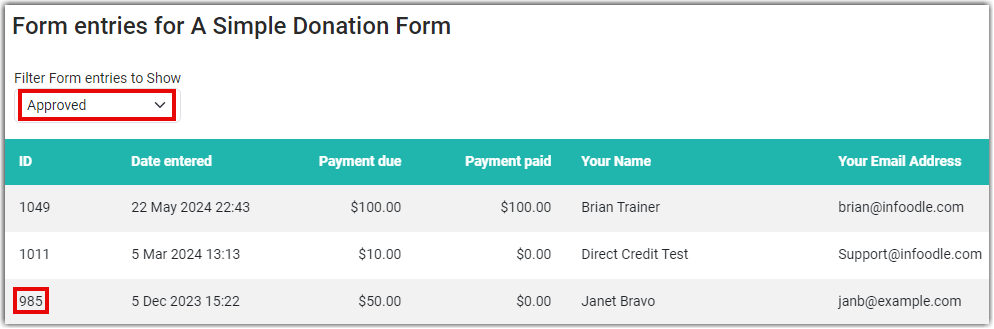
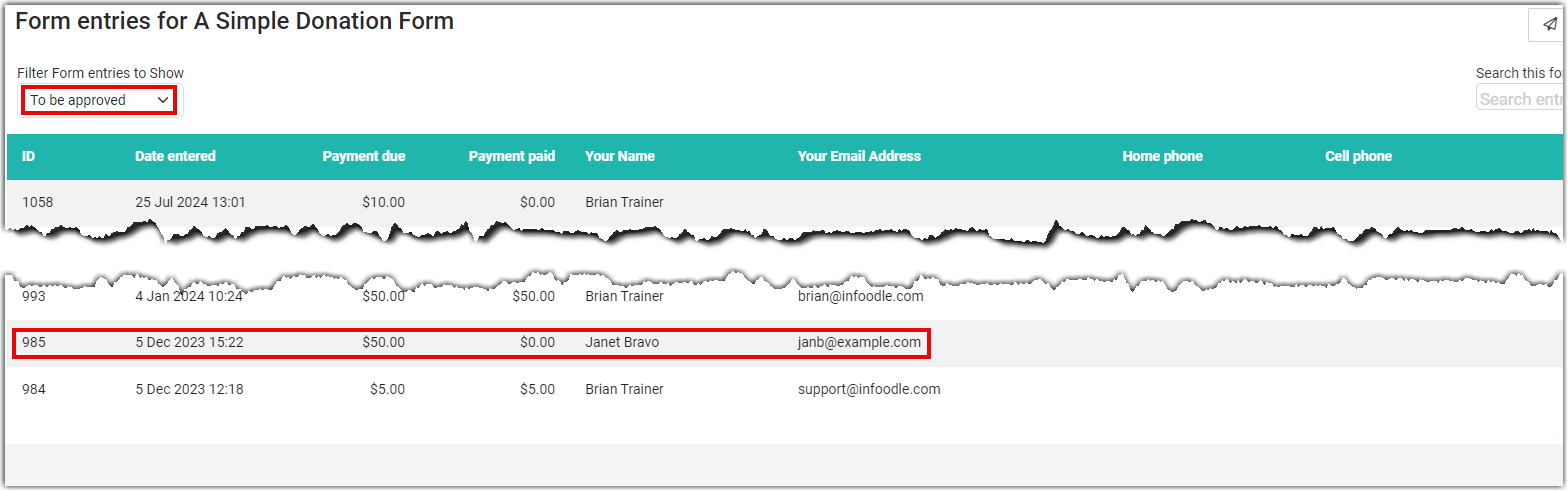
Identify the form entry you want to delete from the list of Approved form entries:
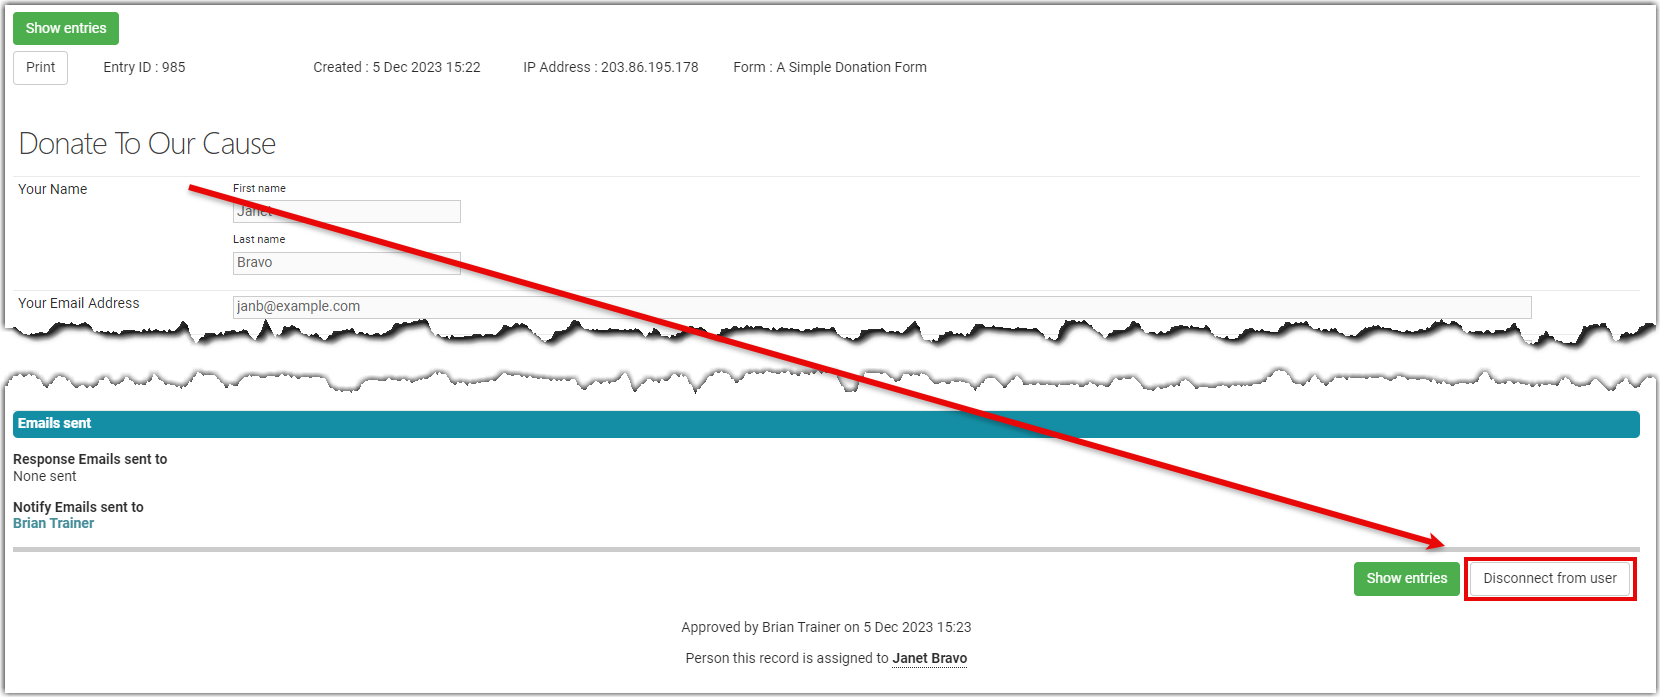
Select the form and scroll down until you can see the Disconnect from this user button on the right:
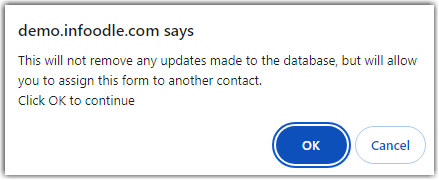
When you select this button you will be presented with this warning message:
Once the disconnection is complete you will find that the form is no longer in the Approved forms list and is now in the To be approved list:
Select the form and scroll down until you see the Delete form entry button on the left:
Deleted form entries cannot be linked to a contact, or used to create a contact, but they can still be found using the Deleted option on the Form Entries page. You can also un-delete a form entry at a later date if needed.
If you select Delete form entry the form entry will be marked as deleted and all the associated information will not be added to your CRM.
Do not delete a form unless you are sure it is junk or not needed.
On the Forms Entries screen you can filter to show those forms that have been deleted. You can then show that form and 'undelete' it.
-
If your site uses workflows, then you may see an additional step for selecting a Workflow when approving Form Entries. This will display after selecting Create/Assign but before Clicking Approve the Form
See Trigger Workflows via Forms for more information. -
If there are Financial elements to your form then there may be some additional things to check and assign during the form approval process.
See Process financial form entries for more information