Every field you place on a form has a small set of settings that work the same way no matter which field type you picked. These are the common field settings: the label the person sees, the help text under it, whether it is mandatory, whether the field is only shown to an administrator at approval time, and a default value. This article covers what each of those settings does and when you would change them.
Field-type specific settings (the things only a Date field has, or only a Group field has) are covered in the per-field articles linked at the end.
Before you start
Role Permissions
- Create and manage forms and entries (subject to cluster and form restrictions), to open a form in the form builder and change field settings.
- Can Edit all Forms (bypasses form restrictions, cluster members still restricted), if you need to edit a form that you did not create yourself.
For an explanation of these and other role permissions, see People role permissions.
You will also need an existing form to edit, or a new form you are building. If you have not built one before, start with About Form Fields.
Open a field's settings panel
The common settings live in the field's settings panel, which appears when you click a field you have already placed on the form. The panel also opens automatically when you drag a new field onto the form, so you can set it up straight away.
- Open Forms from the main menu on the left.
- Click the name of the form you want to edit.
- Make sure the Build form tab is open. You will see the field list on the left and your form's placed fields in the middle.
- Click any field that has been placed on the form. The settings panel opens just above the field with that field's current settings filled in.
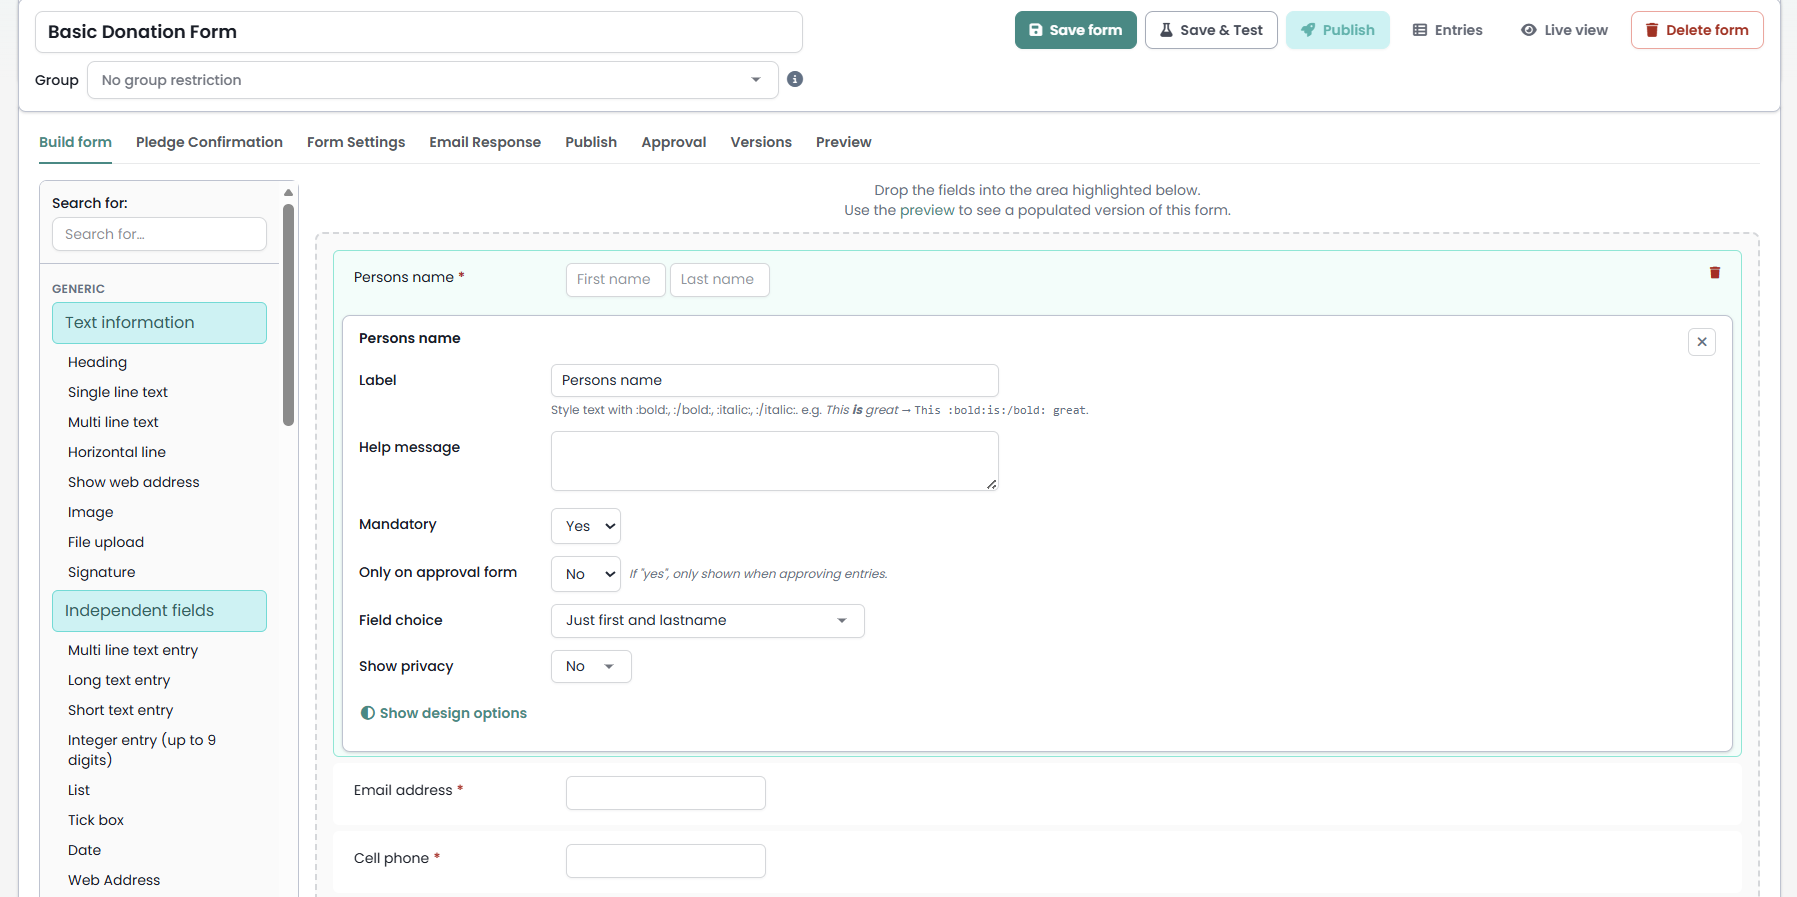
Click the X icon in the top right of the panel to close it. Or click on a new field to close the current one and open a new one.
The same panel handles every field type. If a setting does not apply to the field you clicked (for example, Mandatory on a Heading), the panel simply does not show that row.
The common settings
These are the settings you will see for most field types.
Label

The label is the text the person sees above (or beside) the field on the form, telling them what to put in it. Type the label into the Label box.
infoodle keeps track of each field separately from the label you give it, so renaming a label later is safe: it will not break your reports, filters, or past entries.
You can style the label with infoodle's inline tags: :bold: and :/bold: wrap bold text, :italic: and :/italic: wrap italic text. For example, This :bold:is:/bold: great renders as "This is great". infoodle uses its own simple tags here instead of web code, so your forms stay safe to place on other pages.
For Heading type fields, the panel shows a wider Text area instead of Label, because the content is the whole reason for the field. The same styling tags apply. A Horizontal line has no label or text setting at all; it is purely visual.
Help message

Short explanatory text shown to the person filling in the form. It appears next to the field with a help icon, and the message is revealed when they click that icon. Use this to give an example, clarify what you mean, or explain a rule (for example, "Please use your legal name as it appears on your ID").
Leave this blank if the label already says everything the person needs to know.
Mandatory
 {height="30" width=""}
Set this to Yes to require the person to fill in the field before the form can be submitted. They will see a red asterisk next to the label, and infoodle blocks the submit until the field has a value.
Set it to No for optional fields.
Only on approval form
 {height="30" width=""}
infoodle forms can be set up so that submitted entries go to an administrator for review before they are finalised; this review step is called approval. When this setting is set to Yes, the person filling in the form does not see the field at all. The field is only shown to the administrator when they are approving the form entry. This is useful when you want to record information against an entry that you set yourself, not the submitter (for example, an internal reference code, approval notes, or the name of the team member who handled the submission), or when you want to capture a default value that the submitter should never see or change.
Set it to No for normal fields the submitter sees.
For more on the approval workflow, see Approving form entries.
Default value
 {height="30" width=""}
 {height="30" width=""}
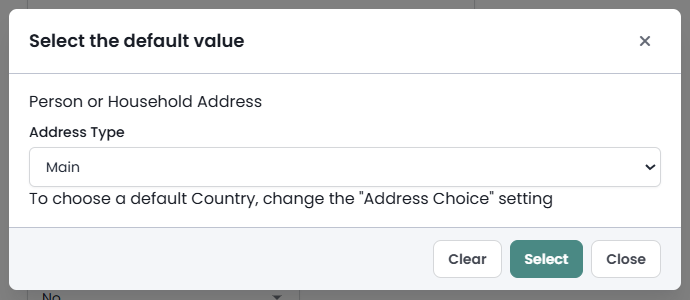
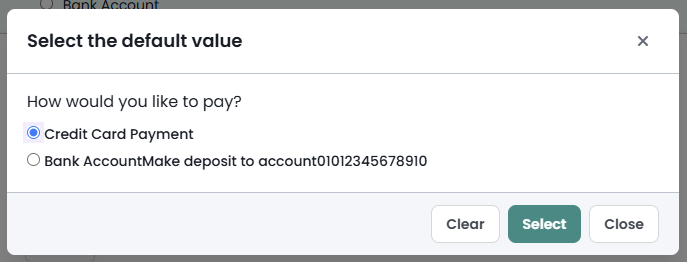
For most text fields, type the default into the Default value box. For fields that pick from a list (a Group, a Stock item, an Account code, a Tick box, and similar), the panel shows a picker so you choose the default from the same options the submitter will see.
Leave the default blank if the field should start empty.
Design options

At the bottom of the settings panel there is a Show design options link. This expands two extra inputs that let you attach custom styling to the field:
- CSS Class for label & field: a class name applied to the row that contains both the label and the input. Use this when you have a stylesheet on the page hosting the form and want to target the whole field row.
- CSS for label: inline CSS applied to the field's label only (not to the input). Use this for quick one-off styling of the label text, for example, to change its colour or weight.
You can usually ignore these. They are there for sites that publish the form on an external page and want it to match that page's look. The inline tags :bold: and :italic: are usually enough for in-form emphasis without touching these.
If your site uses reference codes, you will also see a Reference Code expander below the design options. That is covered in the reference codes article.
Test the result with the form's Test button before you publish.
Save and preview your changes
When you finish editing a field, the change is held in the page as soon as you type it; it is not written to the database yet. You can close the settings panel or move on to another field.
To save:
- Click Save form at the top right of the form builder. Your settings are written to the database.
- Click Save & Test to save and open a test view of the form so you can see what the person filling it in will see.
If the form is already published and you make changes, those changes go into a draft version. Click Publish to make them live.

Common questions
Can I change a field's label after the form has entries?
Yes. The label is part of the form's published settings, not part of the entry data, so changing it just updates the text that future submitters and approvers see. Past entries keep the values they already had, and reports show those entries under the new label.
What happens if I make a field mandatory after entries have been submitted?
New submissions and approval reviews enforce the new rule. Existing entries that were submitted before the change are not retroactively rejected, but the field will show as required when you open one of those entries for approval, so you may need to add a value before you can save the approval.
Why don't I see a Default value setting on my field?
Not every field type supports defaults. Heading, Horizontal line, and read-only display fields have nothing to pre-fill. For all standard data-entry fields you should see the Default value row.
Can I make a field visible only to administrators after the form has been submitted?
That is what Only on approval form does. Set it to Yes and the field is hidden from the submitter and shown only to the administrator who approves the entry.
Next steps
Once you are comfortable with the common settings, the per-field-type articles cover the extra options each type adds.