Groups are the cornerstone of infoodle, helping you keep people organised into teams, committees, small groups, rosters, and more.
Before you begin
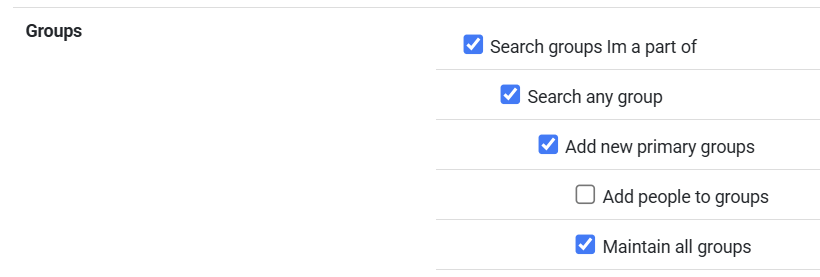
- You need the Maintain groups permission to create a new group.
- If you want Team Skills, Functions, or group-membership custom fields to appear on your new group, make sure the relevant Group Type has already been set up. See Group Types.
How to add a group
- From anywhere in infoodle, click the + icon in the top-right header bar.
- In the dropdown menu, click Group.
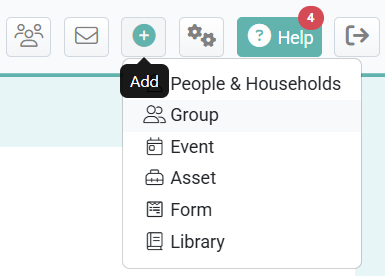
- Then the add a new group form will open.
Identification section
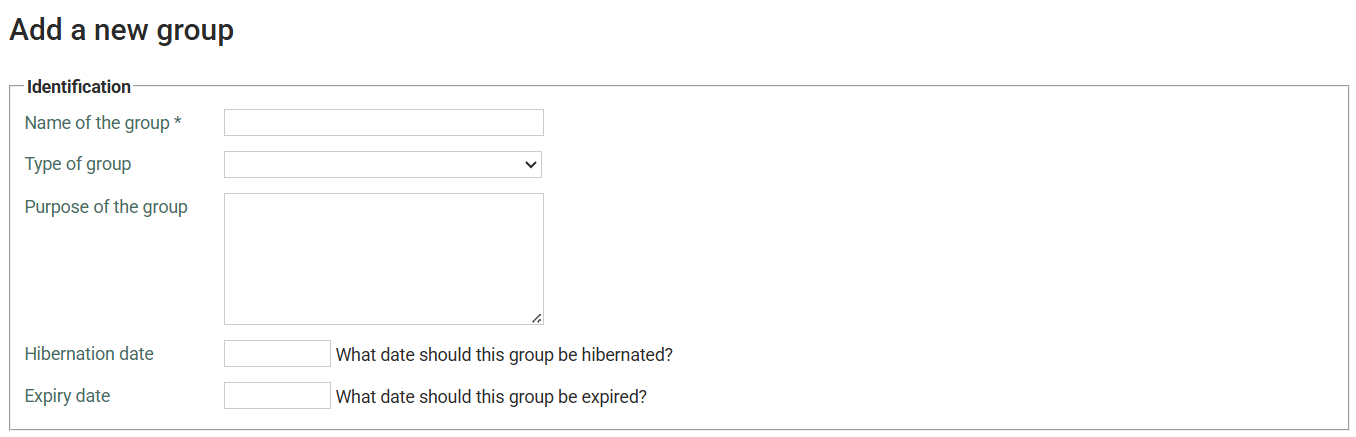
Name of the group (required)
Enter a clear, descriptive name. Groups are listed alphabetically within their Group Type, so if you want a specific ordering, prefix names with numbers (e.g. "01 – Welcome Team").
Type of group
Select the Group Type that best describes what this group is for (e.g. Small Group, Ministry Team, Roster Team). This is the most important field on the form — the Group Type controls which features appear on the group: Team Skills, Functions, Attendance, Rosters, Volunteer Hours, and custom membership fields.
Tip: If you leave this blank, Team Skills, Functions, and group-membership custom fields will not appear, even if they are configured elsewhere. You can always edit the group later to assign a Group Type, but it is easier to set it now.
Purpose of the group
A short description of what this group is for. This is optional but helpful, especially in larger organisations.
Hibernation date
The date on which this group (and all its subgroups) should automatically hibernate. Leave blank if you don't want the group to hibernate. Hibernated groups are hidden from normal views but retain all their data and can be restored.
Expiry date
The date on which this group (and all its subgroups) should automatically expire. Leave blank for no expiry. Expired groups are permanently closed. See Hibernating and Expiring a Group for the difference between the two.
Note: If this group has a parent group, you cannot set a hibernation or expiry date later than the parent's equivalent date.
Group Usage section

Tasks
Tick this to enable task tracking for the group. Tasks will then appear as a tab on the group's home page. See Group Tasks.
Content
Tick this to allow the group to be used as a permission layer for Notes and Library documents. Only groups with Content enabled can be selected when restricting who can view a note or document.
Filter Data section
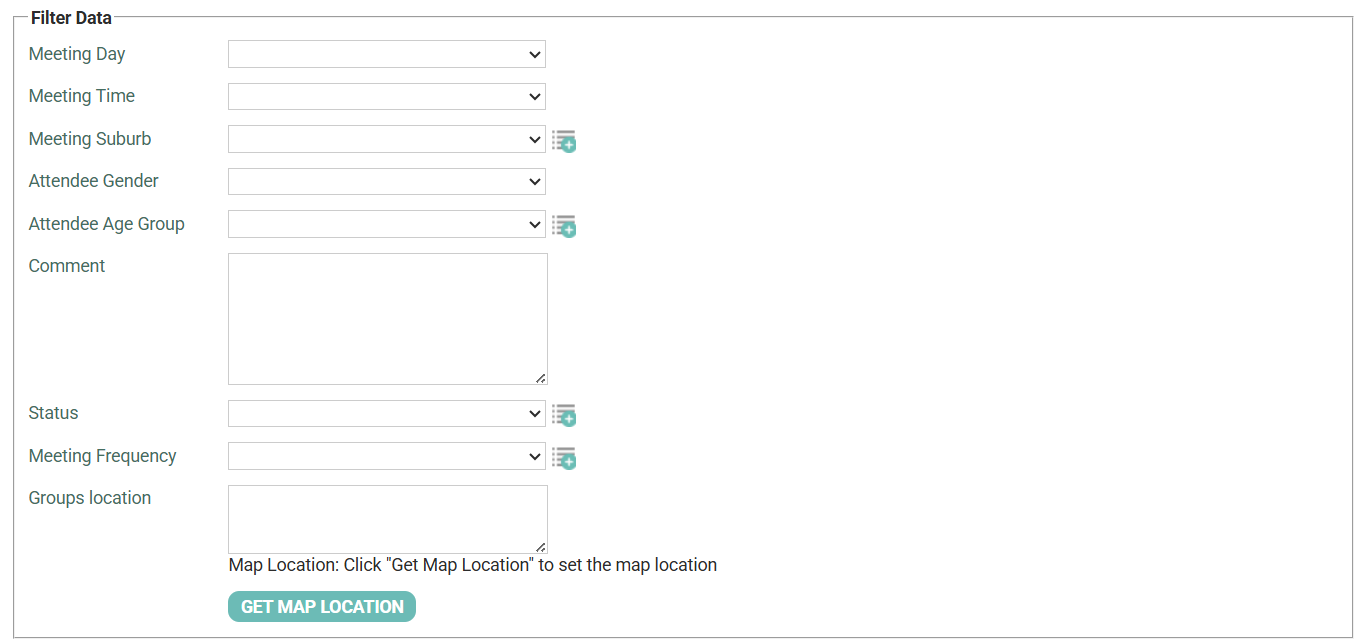
This section contains fields used when searching for groups in Advanced Search and Reports. None of these fields are required, but filling them in is useful when managing a large number of groups.
Custom filter fields
Your organisation may have configured additional filter fields here (e.g. Region, Campus, Day of week). These are set up under Administration and vary between organisations.
Groups location
Enter the physical location or address where this group meets. If your site has the map location feature enabled, you can also click Get Map Location to pin the group on a map using the address you've entered.
Saving the group
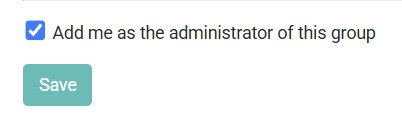
Just above the Save button, you will see:
Add me as the administrator of this group (ticked by default)
Leave this ticked if you want to be listed as an Administrator of the new group. As Administrator you can add and remove members, contact the group, and manage attendance and rosters.
If you are creating the group on behalf of someone else and do not need to be an Administrator yourself, untick this before saving.
Note: If you have a restricted permissions role (Cluster Member), this checkbox is not shown — you will be added as Administrator automatically, as you would otherwise have no way to manage the group.
Click Save. infoodle will create the group and take you straight to the new group's home page.
What to do next
Once your group has been created, you can:
- Add members — click the Add Members button on the group's home page to search for and add people. See Group Permissions for the membership levels available.
- Create subgroups — to divide the group into smaller units, use the Subgroups tab. See the note below about how subgroup membership works.
- Set up a roster — if your Group Type has Rosters enabled, you can build a schedule straight away. See Creating a Quick Roster.
- Track attendance — switch to the Attendance tab to start recording sessions.
A note on subgroups
When you add subgroups to an existing group, every current member of the parent group must belong to at least one of the subgroups — they cannot exist in the parent group alone. infoodle will prompt you to distribute existing members when you create the first batch of subgroups.
Warning: Be careful when restructuring subgroups. If members are removed from a parent group unexpectedly, contact support@infoodle.com — group membership history is retained in backups and can often be restored.